How to Inspect a French Drain with a Sewer Camera: Step‑by‑Step DIY Guide
Introduction
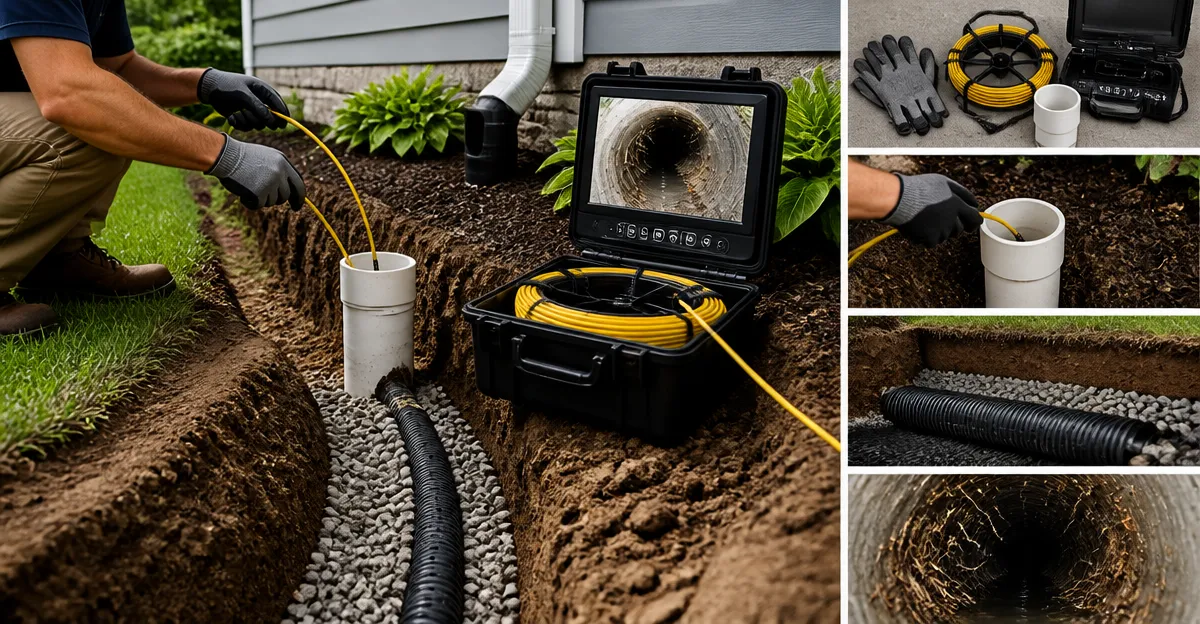
One often encounters water pooling near foundations, soggy lawns, or unexpected basement moisture. These symptoms frequently indicate a problem within a French drain system. By using a sewer camera, a homeowner can visually locate blockages, cracks, or misaligned sections without excavating large areas. This guide explains how to perform a thorough inspection, which tools are most effective, and how to interpret the video feed. The result is a faster diagnosis, reduced repair costs, and confidence that the drainage system functions as designed.
What You’ll Need
- Portable sewer camera with at least 100 ft cable length
- Protective gloves and safety glasses
- Flashlight or portable work light
- Measuring tape
- Marking chalk or waterproof marker
- Smartphone or tablet for video backup (optional)
The following products meet the requirements and are available on Amazon:
Step‑by‑Step Instructions
Step 1: Locate the Access Point
One should begin by identifying the clean‑out or inspection port that provides entry to the French drain. Common locations include the perimeter of the house, near the foundation footing, or within a utility vault. Use a flashlight to examine the cover for signs of corrosion or debris. Mark the exact location with chalk so that the entry point can be reopened quickly after the camera is withdrawn.
The ChoosePRO Sewer Camera is particularly useful in this step because its 7 inch IPS screen allows the operator to see the entry condition without removing the cover. The camera includes a 100 ft marked cable, which simplifies depth estimation when the probe is inserted.
Key specifications: price $299.99, rating 4.4/5 from 121 reviews, IP68 waterproof rating, 5000 mAh battery lasting over 8 hours, and a twist‑unlock cable reel that can be engaged in one second.
Step 2: Prepare the Camera and Cable
Before insertion, one must ensure that the camera head is securely attached to the cable and that the battery is fully charged. The ChoosePRO unit offers a plug‑and‑play connection; simply attach the display to the camera head, press the power button, and verify that the live feed appears on the screen. If the user prefers a more compact device, the ESANHAO Sewer Camera provides a 4.3 inch monitor and a lightweight 5 mm cable, which can be advantageous in tight access points.
ESANHAO specifications: price $199.68, rating 4.7/5 from 23 reviews, 8500 mAh battery for 6‑8 hours, and a 100 ft cable with meter markings for precise depth tracking.
Check that the LED lights are set to an appropriate brightness level; most cameras allow three levels of illumination. Overly bright LEDs can wash out the image, while insufficient light may hide small cracks.
Step 3: Insert the Probe Carefully
One should feed the probe slowly into the drain, allowing the flexible stainless‑steel spring tip to navigate bends without catching. Rotate the cable gently by hand while watching the screen for resistance. If the cable meets an obstruction, pause and back out a few inches before attempting to advance again. The VEVOR 165 ft Sewer Camera excels in this stage because its semi‑rigid 165 ft cable reaches farther sections of the drainage system and includes a 512 Hz locator for precise underground positioning.
VEVOR specifications: price $569.98, rating 3.8/5 from 163 reviews, 9 inch 720p screen, 12 adjustable LEDs, and a built‑in sonar locator that works with a handheld receiver.
When the probe reaches the deepest point, note the depth marker on the cable. This measurement will help the homeowner estimate the location of any identified problem when planning a repair.
Step 4: Record Video and Capture Still Images
During the inspection, it is advisable to record the entire run and capture still images of any anomalies such as root intrusions, sediment buildup, or pipe fractures. The ChoosePRO model includes a 32 GB DVR card that stores video automatically, eliminating the need for an external recorder. The VISIOPROBE unit also provides a pre‑installed 32 GB card and a 4.3 inch monitor with a sun visor, which is useful when the inspection is performed outdoors in bright sunlight.
VISIOPROBE specifications: price $219.99, rating 4.3/5 from 55 reviews, 8500 mAh battery for up to 10 hours, and a 23 mm camera head that fits standard drain pipes.
After the inspection, remove the probe slowly, then power off the camera and transfer the video files to a computer via USB‑C or SD card. Review the footage to pinpoint the exact location of each defect.
Step 5: Analyze Findings and Plan Repairs
One should compare the depth markers recorded during the run with the physical layout of the French drain. If a blockage is identified at 45 feet, measure the distance from the access point along the pipe route to locate the spot for excavation or targeted cleaning. In many cases, a high‑pressure water jet or a mechanical auger can clear the obstruction without extensive digging.
When a crack or collapsed section is observed, the homeowner may need to consult a professional to replace the damaged pipe segment. However, the video evidence collected with the camera can be presented to the contractor to obtain accurate estimates and avoid unnecessary work.
Documenting the inspection with clear photos and timestamps also supports insurance claims if water damage has already occurred.
Tips & Pro Tips
- Always wear protective gloves and safety glasses when handling the camera and cleaning the access port.
- Test the camera on a short, straight pipe before beginning the full inspection to become familiar with the controls.
- Use the adjustable LED brightness to prevent glare when the pipe contains reflective water.
- If the cable becomes tangled, disengage the twist‑unlock reel on the ChoosePRO model; it releases in one second without damaging the cable.
- For very long runs, consider the VEVOR camera’s 512 Hz locator, which allows you to track the probe’s position with a handheld receiver above ground.
Troubleshooting
No Video Feed: Verify that the battery is fully charged and that the camera head is firmly connected to the display. If the screen remains blank, try restarting the unit. Persistent issues may indicate a faulty cable; replace it if damage is visible.
Image Is Dark: Increase LED brightness or bring a portable work light closer to the access point. Ensure the camera head is clean; debris on the lens can reduce clarity.
Locator Not Responding: For the VEVOR system, confirm that the transmitter battery is installed and that the receiver is set to the correct frequency (512 Hz). Interference from nearby metal structures can reduce accuracy; move the receiver to a clear area.
Conclusion
One can now inspect a French drain efficiently by following the steps outlined in this guide. By selecting a suitable sewer camera, preparing the work area, inserting the probe carefully, recording video, and analyzing the results, a homeowner gains precise insight into the condition of the drainage system. This knowledge enables targeted repairs, reduces unnecessary excavation, and ultimately protects the property from water damage. The tools recommended herein provide reliable performance while remaining affordable for DIY enthusiasts.
Products Mentioned in This Guide
Frequently Asked Questions
Why should I use a sewer camera to inspect my French drain?
A sewer camera lets you see blockages, cracks, or misalignments inside the drain without costly excavation.
What minimum cable length should my portable sewer camera have for a French drain inspection?
Choose a camera with at least a 100‑foot cable to reach the full length of most residential French drains.
Which safety gear is essential when inspecting a French drain with a camera?
Wear protective gloves, safety glasses, and have a flashlight or work light handy for visibility.
How can I document the video feed from the sewer camera during inspection?
Connect the camera to a smartphone or tablet to record and store the footage for later analysis.
What should I do if I spot a crack or blockage in the French drain video?
Mark the location with chalk or a waterproof marker, then plan targeted repair or cleaning to avoid unnecessary digging.