How to Know When to Refinish Basement Hardwood Floors: Essential Humidity Checklist
Introduction
Refinishing hardwood floors in a basement can restore a warm, inviting atmosphere, but the process will fail if the underlying wood is still absorbing moisture. This guide explains how to evaluate humidity, measure moisture content, and decide when conditions are safe for sanding and finishing. By following the checklist, one can avoid common problems such as cupping, warping, and premature finish failure, thereby extending the life of the floor.
The reader will learn how to use reliable tools, interpret measurements, and apply best‑practice techniques for a professional‑grade result. The information is valuable for homeowners, DIY enthusiasts, and small‑scale contractors who need a systematic approach rather than guesswork.
What You’ll Need
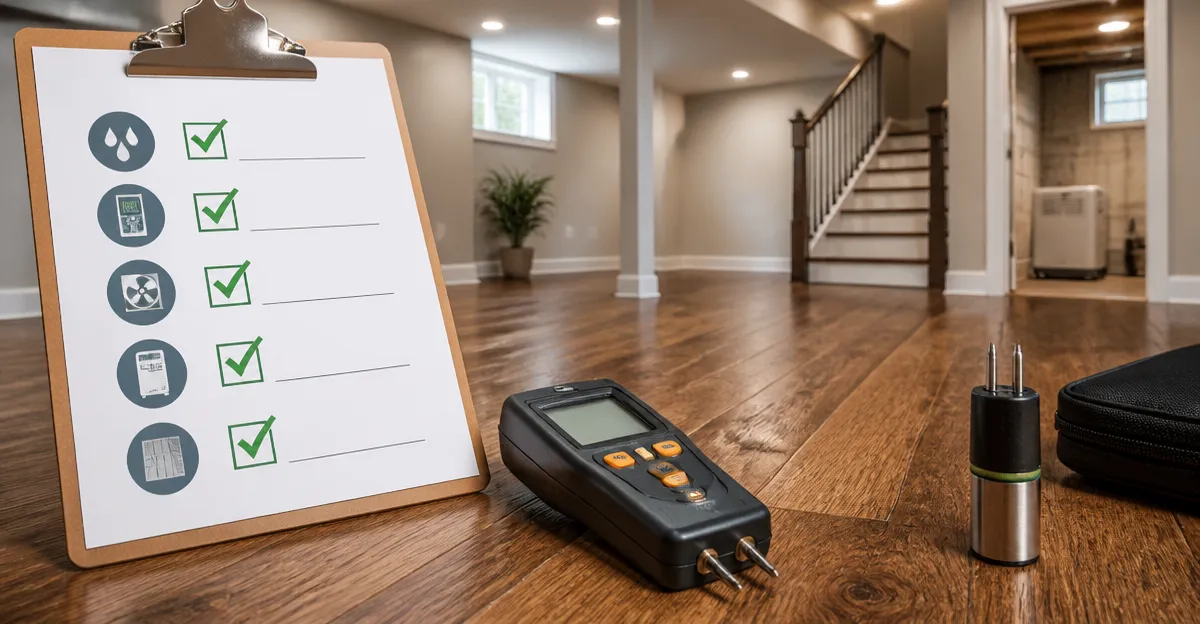
- Digital moisture meter (e.g., POROMETISTO 5‑in‑1 Moisture Meter)
- Pin‑type moisture meter for quick checks (e.g., Wintact Pocket Wood Moisture Meter)
- Thermometer or hygrometer
- Protective gloves and safety glasses
- Sanding equipment, wood filler, and finish of choice
Step‑by‑Step Instructions
Step 1: Verify Ambient Conditions
Before any measurement, ensure the basement temperature is stable between 18 °C and 22 °C (65 °F–72 °F) and that relative humidity (RH) remains within 30 %–50 %. Use a hygrometer to record the reading for at least 24 hours. If RH exceeds 55 %, install a dehumidifier and allow the space to equilibrate for several days.
Why this matters: Wood expands when humidity rises and contracts when it falls. An unstable environment will cause the moisture meter readings to fluctuate, leading to inaccurate decisions.
Step 2: Measure Moisture Content of the Hardwood
Place the pins of the Wintact Pocket Wood Moisture Meter into the floor at several locations, avoiding nail heads or stains. Record the percentages; the device provides readings from 6 % to 70 % with an accuracy of ±2 % and a resolution of 0.10 % in under one second.
For a more detailed assessment across multiple material types (e.g., subfloor, joists, and concrete pads), use the POROMETISTO 5‑in‑1 Moisture Meter. Select the appropriate mode—hardwood for the floorboards and concrete for the slab. This meter offers a measuring range of 0 %–57 % with a three‑color backlight that instantly indicates dry (green), moist (orange), or wet (red) conditions.
Interpretation: The wood should read between 6 % and 9 % before refinishing. Values above 12 % suggest that the floor is still absorbing moisture and must be dried further.
Step 3: Test Subfloor and Underlying Materials
Moisture can migrate from a concrete slab or plywood subfloor. Using the POROMETISTO meter, switch to the concrete or brick mode and test at least three points per 10 sq ft. Consistent readings below 5 % indicate a dry subfloor. If the slab shows 8 %–12 % moisture, consider applying a moisture barrier or allowing additional drying time.
Why a multi‑mode meter is useful: It eliminates the need for separate devices, reducing cost and simplifying data collection. The built‑in data‑hold function lets you capture a reading without losing it when moving the probe.
Step 4: Conduct a Relative Humidity Equilibration Test
Place a small piece of the hardwood (approximately 2 in × 2 in) in a sealed plastic bag with a hygrometer for 24 hours. Compare the bag’s RH to the room’s RH. If the difference exceeds 5 %, the wood has not yet reached equilibrium with the basement environment and further drying is required.
This simple test validates that the floorboards will not later draw moisture from the surrounding air after finishing.
Step 5: Prepare the Surface
Once moisture levels are within the target range, begin sanding. Start with a coarse grit (36‑40) and progress to fine grit (120‑150) to achieve a uniform surface. Use a vacuum equipped with a HEPA filter to remove dust, then wipe the floor with a tack cloth.
Apply wood filler to any gaps or cracks, allowing it to cure according to the manufacturer’s instructions. The filler should also be tested with the moisture meter to ensure it matches the surrounding wood’s moisture content.
Step 6: Apply Finish Under Controlled Conditions
Apply the chosen finish (oil‑based, water‑based, or polyurethane) when the ambient RH is stable within the 30 %–50 % range. Follow the finish manufacturer’s recommended drying time, typically 24‑48 hours between coats. Use a hygrometer to monitor RH during curing; a sudden rise can cause clouding or adhesion problems.
Why monitoring matters: Even after the floor reaches the correct moisture level, fluctuations during curing can compromise the finish’s durability.
Step 7: Verify Final Moisture Content
After the finish has cured, re‑measure the wood surface with the Wintact meter. Readings should remain within 6 %–9 %. If they have risen, investigate possible sources of moisture ingress such as plumbing leaks or inadequate ventilation.
Document the final readings for future reference; they serve as a baseline for any subsequent maintenance.
Tips & Pro Tips
- Always calibrate the moisture meters according to the manufacturer’s instructions before use.
- When testing concrete, allow the meter’s probe to rest for at least 10 seconds to achieve a stable reading.
- Use a dehumidifier with a capacity of at least 30 pints for basements larger than 1,000 sq ft.
- Seal any foundation cracks before starting the refinishing project to prevent hidden moisture sources.
- Consider a moisture‑resistant underlayment if the subfloor consistently reads above 5 %.
Troubleshooting
| Problem | Possible Cause | Solution |
|---|---|---|
| Moisture readings remain high after 48 hours of dehumidification | Hidden water intrusion or inadequate ventilation | Inspect plumbing, improve airflow, and apply a vapor barrier on the slab. |
| Backlight on POROMETISTO meter shows red | Material is too wet for safe sanding | Delay refinishing until readings drop to orange or green; continue drying. |
| Finish bubbles after curing | Rapid humidity increase during drying | Maintain constant RH using a humidistat‑controlled dehumidifier. |
Conclusion
By systematically checking ambient humidity, measuring wood and subfloor moisture with reliable meters, and ensuring stable conditions during sanding and finishing, one can confidently decide when a basement hardwood floor is ready for refinishing. The checklist reduces the risk of future damage, saves time, and protects the investment in quality materials.
Apply the steps outlined in this guide, and the floor will retain its beauty for many years to come.
Products Mentioned in This Guide
Frequently Asked Questions
What humidity level is safe for refinishing basement hardwood floors?
Aim for a relative humidity between 30% and 50% and a wood moisture content of 6%–9% before sanding and finishing.
How do I measure the moisture content of my basement hardwood?
Use a digital pin‑type moisture meter, inserting the pins into several spots and averaging the readings to determine wood moisture percentage.
What are common signs that the wood is still too wet for refinishing?
Cupping, warping, and a spongy feel when pressing the floor surface indicate excess moisture that must be addressed first.
Can I refinish my floors if the basement’s humidity fluctuates seasonally?
Yes, but wait until the humidity stabilizes for at least a week and confirm moisture readings are within the safe range before starting.
Do I need special equipment to control basement humidity before refinishing?
A dehumidifier and proper ventilation are usually sufficient to lower humidity to acceptable levels for a successful refinishing job.