Introduction
One will learn how to select the most effective placement for a home humidistat, how to mount it at the proper height, and how to avoid common sources of false readings. Accurate humidity control contributes to comfort, protects structural components, and reduces energy waste. This guide provides practical, actionable instructions that can be followed by homeowners with basic electrical knowledge. By the end of the article, one will be equipped to install a reliable humidity sensor such as the TOPGREENER Humidity Sensor Switch and achieve consistent moisture management.
What You’ll Need
- TOPGREENER Humidity Sensor Switch (Ivory) – TOPGREENER Humidity Sensor Switch
- Phillips‑head screwdriver
- Voltage tester
- Wire strippers
- Non‑metallic sheathed cable with a neutral conductor
- Mounting brackets or drywall anchors (if wall material requires)
- Level and measuring tape
- Safety glasses and insulated gloves
Step 1: Choose the Optimal Location
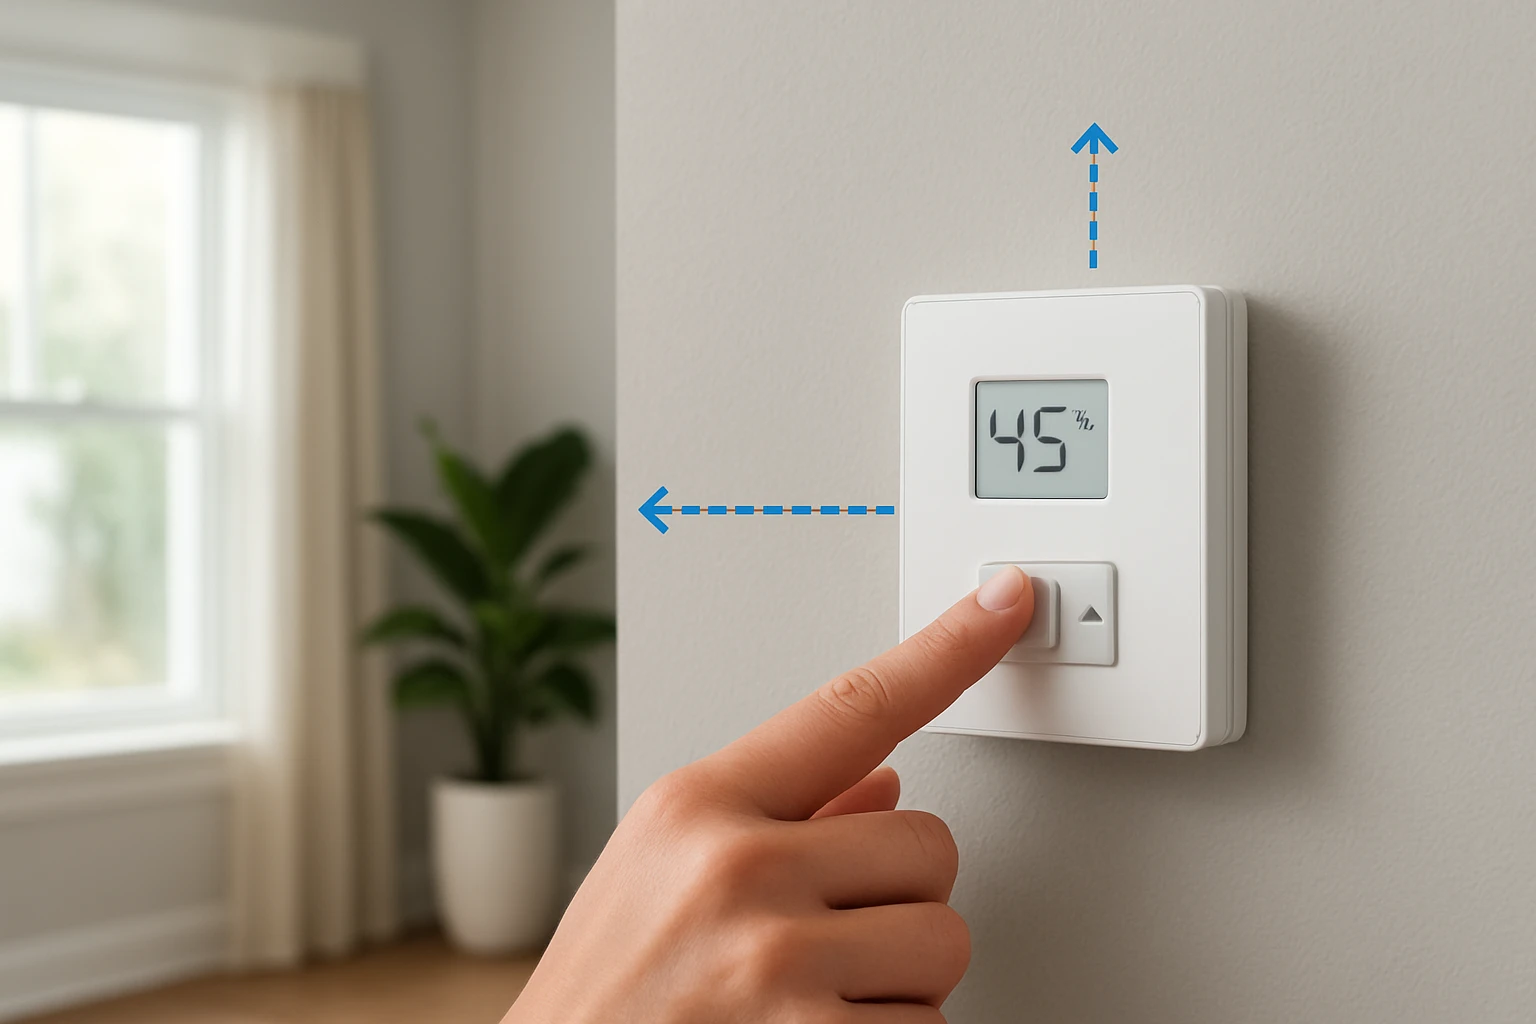
The humidistat should be positioned in a place that represents the average moisture level of the room, not directly above a moisture source or a draft. One should avoid installing the device directly above a showerhead, a bathroom exhaust fan, or a window, because these areas experience transient spikes that can cause premature activation. A central location on an interior wall, at least three feet from the floor and eight feet from the ceiling, generally provides the most representative reading. Ensure that the spot is accessible for future adjustments but out of the way of accidental contact.
Step 2: Determine the Correct Mounting Height
Industry guidelines recommend mounting the sensor at a height where the air is well mixed, typically between 4 and 6 feet above the floor. In bathrooms, a height of 5 feet works well because warm, moist air rises but does not immediately accumulate at the ceiling. For basements or laundry rooms, mounting closer to 4 feet can capture the denser, cooler air that carries excess humidity. Use a level and measuring tape to mark the exact height before drilling any holes.
Step 3: Prepare the Electrical Wiring and Verify Neutral Availability
Most modern humidistats, including the TOPGREENER Humidity Sensor Switch, require a neutral wire to power the sensor circuitry. Verify that the existing switch box contains a neutral conductor (typically white). Use a voltage tester to confirm that the neutral is not carrying live voltage; a properly wired neutral will read zero volts relative to ground. If a neutral is absent, one must run a new cable from the nearest junction box, which may require a licensed electrician to comply with local codes.
Having a neutral wire simplifies installation because the device does not rely on a separate power adapter. The TOPGREENER switch is UL‑listed, operates on 120 VAC, and can handle a fan load up to 3 A, making it suitable for most residential exhaust fans. Its built‑in 20‑minute time delay ensures that the fan continues running after humidity drops, preventing short cycling.
Step 4: Install the Humidistat
Turn off power at the circuit breaker before beginning any wiring work. Remove the existing wall switch, noting the placement of the line (hot), load, and ground wires. Connect the line wire to the black terminal of the TOPGREENER Humidity Sensor Switch, the load wire to the red terminal, and the neutral wire to the designated neutral terminal. Attach the ground wire to the green grounding screw. Secure the device into the wall box using the provided mounting screws, ensuring that the front panel sits flush with the wall surface.
Once the switch is mounted, restore power and test the LED indicator. The device will emit a brief flash to confirm proper wiring. Use the fan button to enter programming mode, select the desired humidity sensitivity (low, medium, or high), and save the setting by holding the button for eight seconds. The default medium setting (65 % RH) works for most bathrooms; adjust upward for high‑moisture environments such as steam showers.
Step 5: Test, Calibrate, and Verify Proper Operation
After installation, one should verify that the humidistat activates the exhaust fan at the programmed humidity threshold. Generate steam by running a hot shower and observe whether the fan turns on within a few seconds of the sensor detecting moisture. If the fan does not activate, double‑check the wiring connections and ensure that the fan load does not exceed 3 A. Adjust the sensitivity setting if the fan activates too early or too late, keeping in mind that the device cannot modify the 20‑minute run time.
Finally, confirm that the manual ON/OFF switch bypasses the sensor when needed, allowing one to run the fan independently of humidity. This feature is useful during routine cleaning or when additional ventilation is required. Document the chosen settings for future reference, and label the switch panel if multiple occupants will adjust the controls.
Tips & Pro Tips
- Place the sensor away from direct sunlight, as solar heating can falsely raise humidity readings.
- Do not install the device in a location where condensation frequently forms on the housing, because water droplets can short the internal electronics.
- When wiring in a metal box, use a grounding screw to ensure the device is properly grounded, enhancing safety.
- Consider pairing the humidistat with a variable‑speed fan for quieter operation at lower humidity levels.
- Periodically clean the sensor opening with a soft brush to prevent dust accumulation that could affect accuracy.
Troubleshooting
| Problem | Possible Cause | Solution |
|---|---|---|
| Fan does not turn on automatically | Incorrect wiring or missing neutral | Verify that the line, load, and neutral wires are correctly connected; ensure power is restored at the breaker. |
| Sensor triggers continuously | Sensor placed too close to a moisture source | Relocate the humidistat to a more central position away from showers or sinks. |
| LED remains red and fan only runs manually | Device malfunction or firmware issue | Reset the switch by turning power off for one minute, then reprogram the humidity level. |
Conclusion
One now possesses a clear methodology for selecting the optimal location, mounting height, and wiring configuration for a home humidistat. By following the step‑by‑step instructions and employing the TOPGREENER Humidity Sensor Switch, a homeowner can achieve reliable moisture control without false activations. Proper placement, accurate wiring, and periodic calibration ensure that the exhaust system operates efficiently, preserving indoor air quality and structural integrity. Implement the recommended tips, and enjoy a comfortable, well‑ventilated living environment.
Products Mentioned in This Guide
Frequently Asked Questions
Where should I install a home humidistat for the most accurate readings?
Place it in a central room away from direct sunlight, drafts, kitchens, and bathrooms, at a location that reflects the overall indoor humidity.
What height is recommended for mounting a humidistat?
Mount the sensor 4‑6 feet above the floor, roughly at breathing level, to capture representative air moisture.
What common factors can cause false humidity readings?
Direct exposure to heat sources, moisture from showers, open windows, or being too close to vents can skew the sensor data.
Which tools do I need to install the TOPGREENER Humidity Sensor Switch?
You’ll need a Phillips‑head screwdriver, voltage tester, wire strippers, level, measuring tape, mounting brackets or drywall anchors, plus safety glasses and insulated gloves.
Is it safe for a homeowner with basic electrical knowledge to install the humidistat themselves?
Yes, following the guide’s step‑by‑step instructions and observing safety precautions makes DIY installation feasible for most homeowners.