Introduction
Basement environments often experience low temperatures and high humidity, conditions that can cause a dehumidifier coil to freeze. When the coil freezes, the unit stops removing moisture, leading to persistent dampness, mold growth, and increased energy consumption. This guide explains eight practical DIY fixes that homeowners can implement to keep a dehumidifier operating efficiently in an unheated basement. Readers will learn how to assess temperature, improve airflow, protect the coil, and select the appropriate dehumidifier for their space. By following these steps, one can maintain a dry, healthy basement while extending the lifespan of the equipment.
What You'll Need
- Digital hygrometer or thermometer (optional but helpful for monitoring conditions)
- Insulating foam board or reflective insulation
- Adjustable fan or low‑speed circulation fan
- Extension cord rated for the dehumidifier's power draw
- Drain hose (if continuous drainage is desired)
- PLUSCENT 32 Pint Dehumidifier – ideal for basements up to 2,500 sq.ft.
- ToLife Dehumidifier – compact solution for areas up to 1,000 sq.ft.
- Vellgoo 64 Pint Dehumidifier – high‑capacity unit for spaces up to 4,000 sq.ft.
Step 1: Assess Ambient Temperature and Humidity Levels
The first step is to determine whether the basement temperature falls below the dehumidifier's recommended operating range, typically 65–85°F (18–29°C). Use a digital hygrometer to record both temperature and relative humidity over a 24‑hour period. If the temperature consistently drops below 65°F, the risk of coil freeze increases dramatically. Documenting these readings provides a baseline for evaluating the effectiveness of subsequent interventions.
Step 2: Choose the Correct Dehumidifier Capacity
Selecting a unit with sufficient capacity prevents the compressor from overworking, which is a common cause of coil freeze. For basements up to 2,500 sq.ft., the PLUSCENT 32 Pint Dehumidifier offers 32 pints per day removal, a 24‑hour timer, and three customizable modes. It is rated 4.8/5.0 by 104 reviewers and priced at $139.99, making it a cost‑effective solution for medium‑sized basements. For smaller areas under 1,000 sq.ft., the ToLife Dehumidifier provides a 95‑oz tank, automatic shut‑off, and a low‑speed sleep mode that operates below 30 dB, suitable for bedrooms or closets. It is priced at $59.98 with a rating of 4.2/5.0 from 5,615 reviews. For large basements or garages up to 4,000 sq.ft., the Vellgoo 64 Pint Dehumidifier delivers 64 pints per day, Energy Star certification, and a rotary compressor that reduces energy consumption by up to 44 %. It costs $169.99 and holds a 4.6/5.0 rating from 159 reviewers. Choosing the appropriate capacity reduces the likelihood that the coil will become overloaded and freeze.
Step 3: Insulate the Basement Walls and Floor
Cold walls and floors transmit low temperatures to the air surrounding the dehumidifier, encouraging coil freeze. Install rigid foam board or reflective insulation on exposed concrete surfaces. Secure the panels with construction adhesive and seal seams with foil tape to prevent drafts. Insulation not only stabilizes temperature but also improves overall energy efficiency, allowing the dehumidifier to operate within its optimal range.
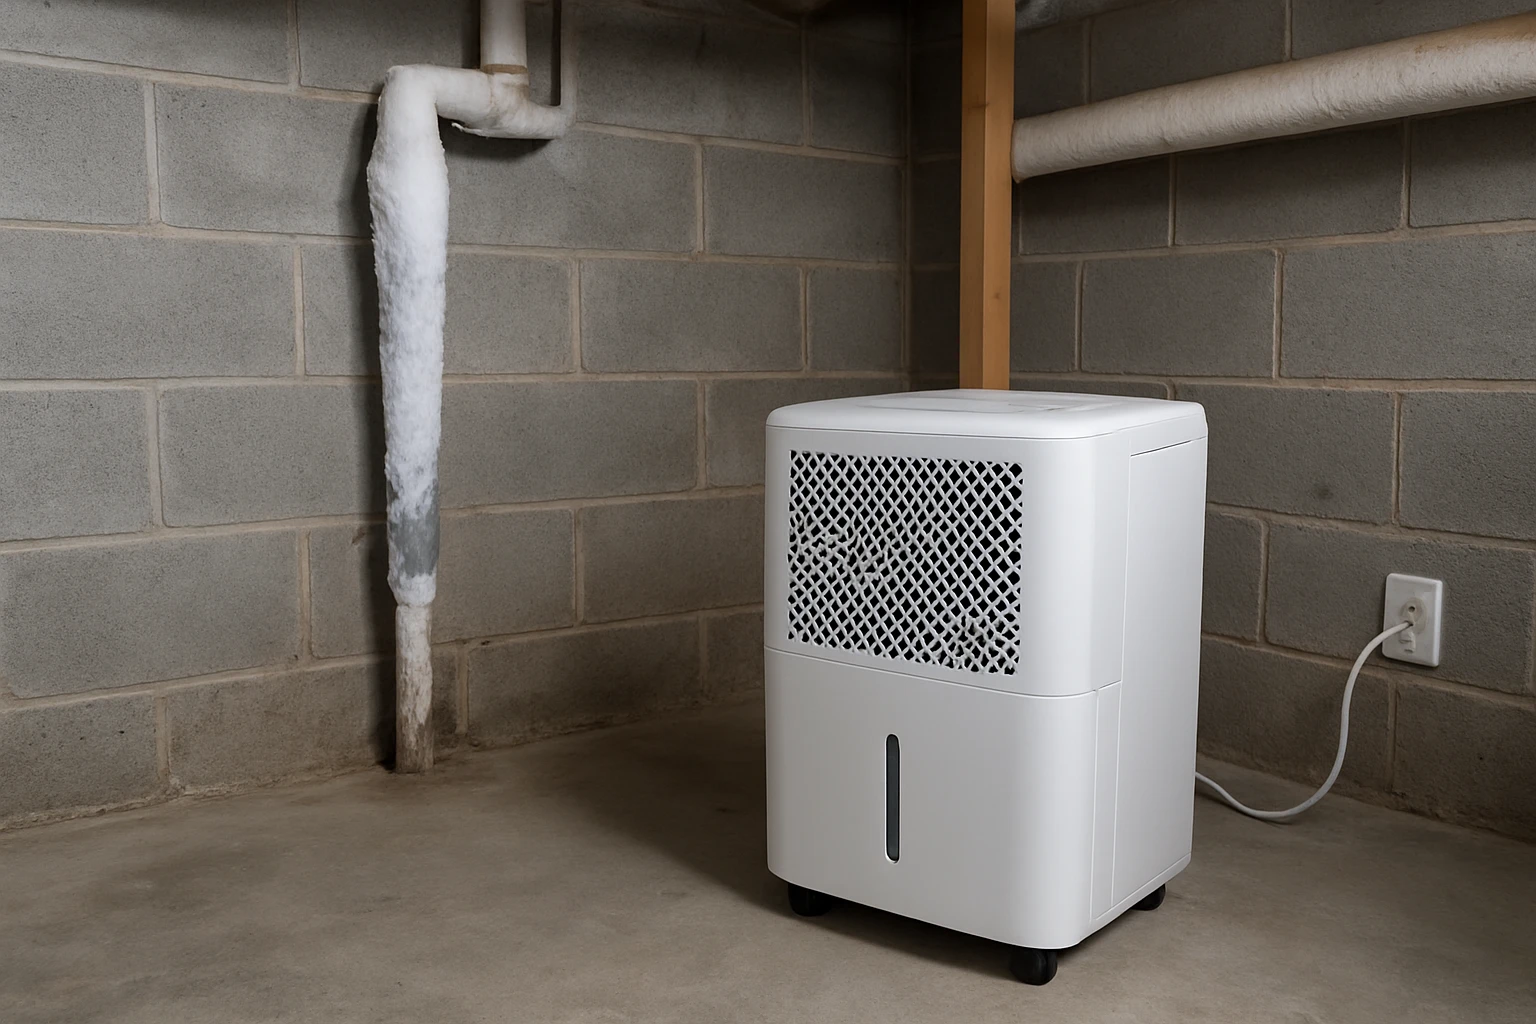
Step 4: Improve Air Circulation Around the Unit
Stagnant air can cause localized cold spots that freeze the coil. Position a low‑speed circulation fan a few feet away from the dehumidifier to promote uniform airflow. Ensure that the unit has at least six inches of clearance on all sides to allow the built‑in fan to draw in warm air. Proper circulation also assists the unit's auto‑defrost cycle, which activates when the coil temperature approaches freezing.
Step 5: Enable the Auto‑Defrost Feature (If Available)
Many modern dehumidifiers, including the PLUSCENT 32 Pint Dehumidifier, incorporate an auto‑defrost system that periodically warms the coil to melt any ice buildup. Verify that this function is enabled in the settings menu. The auto‑defrost cycle typically runs for a few minutes and then resumes normal dehumidification, preventing prolonged freeze conditions.
Step 6: Set an Appropriate Humidity Target
Setting the humidity setpoint too low forces the compressor to run continuously, increasing the chance of coil freeze. For unheated basements, a target relative humidity of 45–55 % is sufficient to inhibit mold while keeping the unit within a safe operating range. Use the touch‑screen control on the Vellgoo 64 Pint Dehumidifier to adjust the DEHU mode, which allows precise control between 30 % and 80 % RH.
Step 7: Provide Continuous Drainage When Possible
Frequent manual emptying of the water tank can lead to periods of inactivity during which the coil may cool excessively. The PLUSCENT 32 Pint Dehumidifier includes a 39.4‑inch gravity drain hose that enables continuous drainage, eliminating the need to stop the unit for tank removal. Connect the hose to a floor drain or a suitable container, ensuring a downward slope of at least one inch per foot. Continuous drainage maintains a steady flow of air across the coil, reducing freeze risk.
Step 8: Perform Regular Maintenance and Inspection
Dust and debris on the evaporator coil impair heat exchange, causing the coil temperature to drop below freezing. Schedule monthly cleaning using a soft brush or vacuum attachment to remove lint from the coil fins. Replace the washable filter as recommended by the manufacturer; the ToLife Dehumidifier features a reusable filter that can be rinsed with water. Inspect the drain hose for kinks or blockages, and verify that the auto‑restart function is operational after any power outage.
Tips & Pro Tips
- Place the dehumidifier on a raised platform to prevent cold air from pooling beneath the unit.
- Use a smart plug to schedule operation during warmer daytime hours, reducing exposure to low nighttime temperatures.
- If the basement is prone to severe cold snaps, consider adding a small electric space heater set to a low temperature to raise ambient warmth without excessive energy use.
- Monitor humidity levels with a separate hygrometer to verify that the dehumidifier maintains the desired setpoint.
Troubleshooting
Problem: Coil continues to ice over despite using auto‑defrost.
Solution: Verify that the ambient temperature is not below 60°F. Increase room temperature with a portable heater or improve insulation. Ensure the fan is not obstructed and that the unit has adequate clearance.
Problem: Unit shuts off prematurely.
Solution: Check the water tank sensor; a full tank triggers automatic shut‑off. Connect the drain hose for continuous drainage or empty the tank before it reaches capacity.
Conclusion
Preventing coil freeze in an unheated basement requires a systematic approach that combines proper equipment selection, environmental control, and regular maintenance. By assessing temperature, insulating the space, improving airflow, enabling auto‑defrost, setting realistic humidity targets, providing continuous drainage, and performing routine cleaning, homeowners can ensure reliable dehumidification year round. The recommended dehumidifiers—PLUSCENT 32 Pint Dehumidifier, ToLife Dehumidifier, and Vellgoo 64 Pint Dehumidifier—offer features that directly address the challenges of cold basements. Implementing the eight DIY fixes outlined in this guide will protect the coil, reduce energy costs, and maintain a healthy indoor environment.
Products Mentioned in This Guide
Frequently Asked Questions
Why does a dehumidifier coil freeze in an unheated basement?
Low ambient temperatures combined with high humidity cause the coil temperature to drop below freezing, forming ice on the coil.
What temperature range is safe for a dehumidifier to operate without freezing?
Most residential dehumidifiers work best above 65 °F (18 °C); staying above this limit prevents coil ice buildup.
How can I improve airflow to stop coil freeze?
Place a low‑speed circulation fan near the unit and keep surrounding objects clear to ensure even air movement across the coil.
Is insulating the basement walls or the dehumidifier helpful?
Yes, adding foam board or reflective insulation around the unit and on cold walls raises the local temperature and reduces freeze risk.
Should I use continuous drainage to prevent coil freezing?
Continuous drainage removes excess moisture faster, lowering humidity levels and lessening the chance of the coil reaching freezing temperatures.