How to Retrofit a Desiccant Whole‑House Dehumidifier into Your HVAC System: Step‑by‑Step DIY Guide
Introduction
In many climates, excess indoor humidity creates mold, discomfort, and higher energy bills. Retrofitting a desiccant whole‑house dehumidifier into an existing HVAC system can provide consistent moisture control while preserving indoor air quality. This guide explains the planning, installation, and commissioning phases, allowing homeowners to achieve professional results without hiring a contractor. Readers will learn how to assess system compatibility, select appropriate tools, and integrate control logic safely.
The approach described here applies to forced‑air furnaces, heat pumps, and central air conditioners that already use ductwork. By the end of the article, one will be able to install a dehumidifier, connect it to the supply and return ducts, and program the thermostat for optimal performance.
What You'll Need
- Desiccant dehumidifier (recommended: Eva‑Dry Rotary Desiccant Dehumidifier)
- Adjustable mounting brackets or a sturdy shelf
- Flexible duct connectors (26‑30 mm diameter)
- Sheet metal screws and insulated duct tape
- Electrical conduit, wire nuts, and a dedicated 120 V circuit
- Thermostat or humidistat compatible with HVAC control
- Basic hand tools: screwdriver, drill, level, and wire cutter
- Personal protective equipment (gloves, safety glasses)
All items are readily available at home‑improvement stores; the dehumidifier itself is listed above with price, rating, and capacity details.
Step 1 – Evaluate System Compatibility
The first step is to verify that the existing furnace or air‑handler can accommodate an additional air‑handling device. Locate the service panel and identify the supply and return plenums. Measure the available clearance; a minimum of 12 inches of vertical space is required for most stand‑alone units. The Eva‑Dry Rotary Desiccant Dehumidifier occupies roughly 10 × 14 × 12 inches, making it suitable for most residential ducts.
Check the electrical rating of the furnace control board. The Eva‑Dry operates on 120 V and draws less than 150 W, which is well within the capacity of a standard 15 A branch circuit. If the furnace already has a spare circuit, you may share it; otherwise, install a dedicated breaker to avoid overloading.
Confirm that the HVAC blower can handle the additional static pressure. Desiccant units typically introduce a modest pressure drop (around 0.2 in. wg). Consult the furnace manual for maximum allowable pressure; most modern units exceed this threshold.
Document your findings in a notebook; this record will simplify later troubleshooting and ensure compliance with local building codes.
Step 2 – Choose the Installation Location
Optimal placement balances accessibility, airflow, and condensation management. The dehumidifier should be installed in the conditioned space, preferably near the return plenum, so that moist air is drawn directly into the unit. Avoid basements or unconditioned attics where temperature swings could affect desiccant efficiency.
Mount the unit on a level platform or attach it to the side of the furnace using adjustable brackets. The Eva‑Dry includes built‑in handles for easy relocation, but a permanent bracket provides stability during furnace vibration.
Ensure that the location allows for the optional drain hose to be routed to a floor drain or condensate pump. Although the rotary desiccant does not generate liquid water, the unit’s internal moisture‑absorbing cartridge may require periodic replacement, and a drain outlet simplifies any incidental condensation.
Mark the final position with a pencil and verify clearances with a tape measure before proceeding.
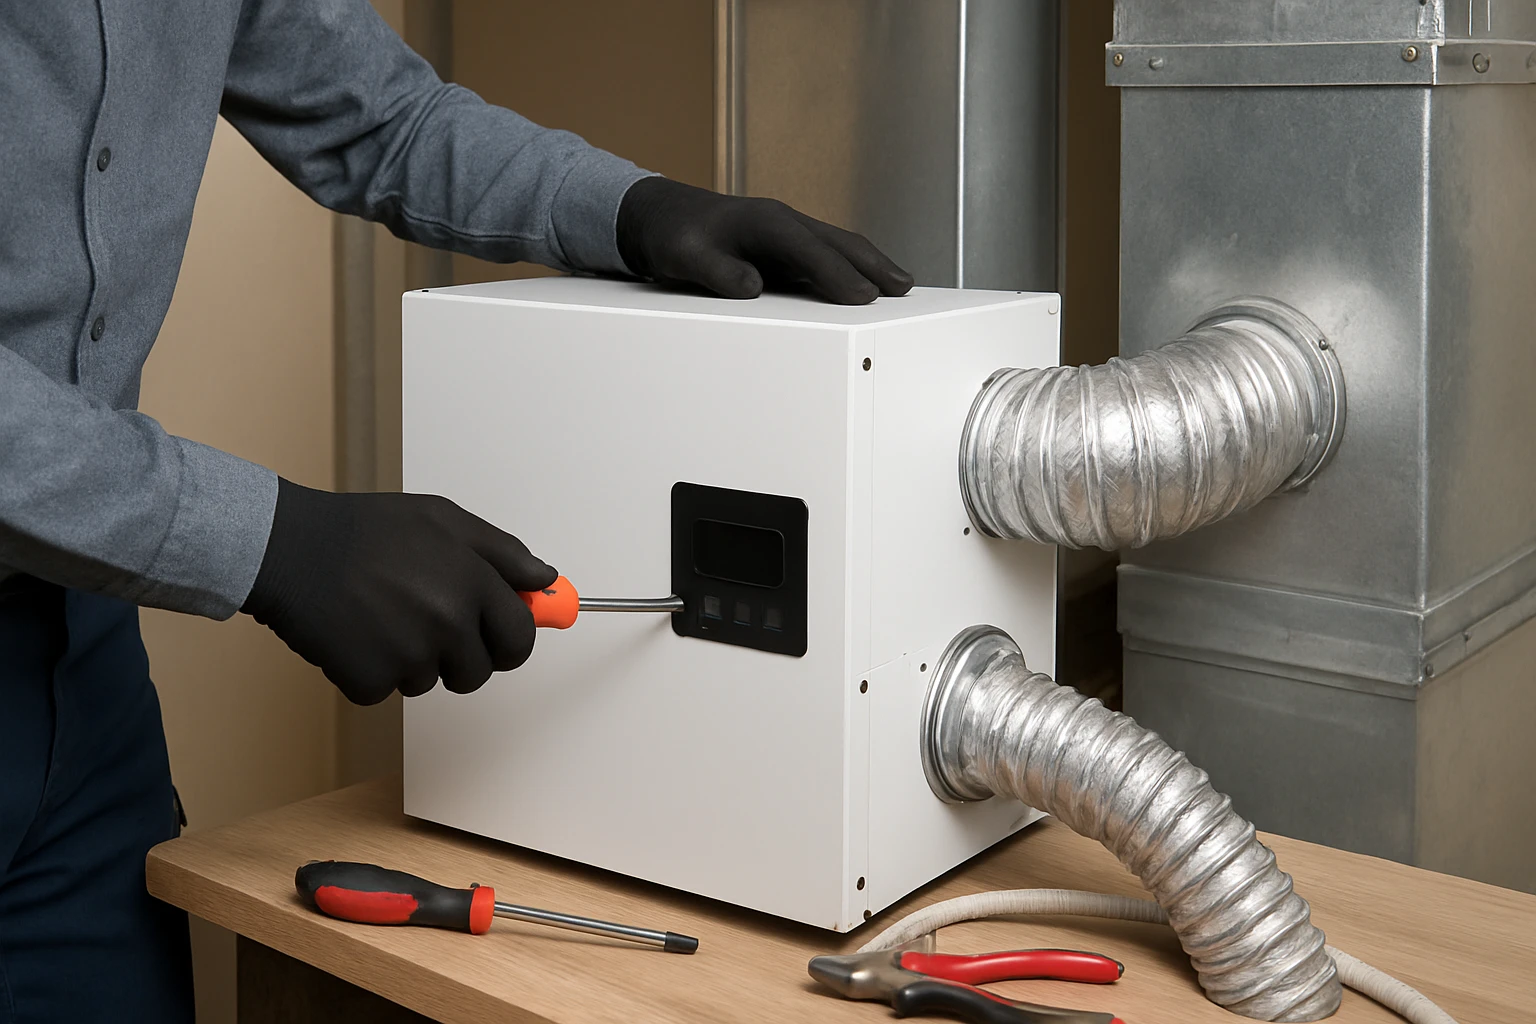
Step 3 – Prepare Duct Connections
Connect the dehumidifier between the return plenum and the furnace inlet. Cut a rectangular opening in the return duct that matches the unit’s inlet dimensions (approximately 12 × 12 inches). Use a sheet‑metal cutter and deburr the edges to prevent air leakage.
Attach a flexible duct connector to the unit’s inlet and secure it with sheet‑metal screws. Seal all seams with insulated duct tape to maintain airflow efficiency. Repeat the process on the outlet side, linking the dehumidifier’s discharge to the furnace supply plenum.
If space is limited, consider a “side‑by‑side” configuration where the unit is placed parallel to the return duct and air is drawn through a custom manifold. This approach reduces the need for large cutouts and preserves structural integrity of the ductwork.
After installation, perform a visual inspection for gaps. Even a small leak can reduce the unit’s effectiveness and increase energy consumption.
Step 4 – Electrical Wiring and Safety
Turn off power at the main breaker before handling any wires. The Eva‑Dry includes a standard 120 V plug; however, a hard‑wired connection provides a more permanent solution. Strip the incoming hot, neutral, and ground wires, then connect them to the unit’s internal terminal block using wire nuts.
Run the wiring through a conduit that follows the HVAC’s existing electrical pathway. Secure the conduit with metal clamps and label the circuit in the breaker panel as “Dehumidifier.” This labeling simplifies future maintenance and satisfies most electrical codes.
Install a dedicated 15 A breaker if a spare circuit is not available. The breaker protects the unit from overload and ensures safe operation during power spikes.
Once wired, restore power and verify that the unit powers on. The Eva‑Dry features an indicator light that confirms electrical connection and alerts the user when the desiccant cartridge requires replacement.
Step 5 – Integrate Control Logic
Most modern thermostats include a humidity sensor; however, the Eva‑Dry also offers a built‑in humidistat with adjustable set points from 30 % to 80 % RH. For whole‑house control, connect the dehumidifier’s control leads to the furnace’s auxiliary relay output.
Program the thermostat to activate the dehumidifier when indoor humidity exceeds 55 % RH and to shut it off below 45 % RH. This range prevents over‑drying, which can cause static electricity and discomfort.
If the thermostat lacks a humidistat, install a standalone humidistat near the return plenum and wire its contacts to the dehumidifier’s power input. The Eva‑Dry’s smart control system will then manage the compressor automatically.
Test the control sequence by raising the humidity in a single room with a humidifier. Observe whether the dehumidifier engages and maintains the target level.
Step 6 – Commissioning and Performance Verification
After completing mechanical and electrical work, run the HVAC system on the lowest fan speed for 30 minutes. Use a calibrated hygrometer to measure baseline humidity at supply registers.
Activate the dehumidifier and monitor the humidity drop. The Eva‑Dry is rated to remove moisture at a rate comparable to 4000 ft³ per hour, which should lower humidity by 5‑10 % in a typical 2000 ft² home within an hour.
Record the final humidity readings and compare them to the set points. Adjust the humidistat if necessary to achieve a stable 40‑50 % RH range, which is optimal for health and material preservation.
Document the results, noting any unusual noises or vibrations. A well‑mounted unit should operate quietly; excessive vibration may indicate loose duct connections.
Tips & Pro Tips
- Seal all duct joints with mastic rather than just tape for a longer‑lasting air‑tight seal.
- Place the dehumidifier on a vibration‑isolating pad to reduce noise transmission to the furnace.
- Schedule cartridge replacement every 12‑18 months in high‑humidity climates; the Eva‑Dry’s cartridge is user‑replaceable without tools.
- Consider installing a condensate pump if the drain hose must travel more than 15 feet to reach a floor drain.
- When using a smart thermostat, enable “humidity‑aware” mode so the system can pre‑cool the air before dehumidification, improving efficiency.
Troubleshooting
Unit does not power on: Verify breaker status, check the plug or hard‑wired connections, and confirm that the indicator light on the Eva‑Dry illuminates.
Humidity does not decrease: Ensure the duct inlet is correctly positioned in the return stream; a misaligned connection can cause bypass airflow.
Excessive noise: Tighten all mounting brackets, inspect the flexible duct for kinks, and add foam padding between the unit and the furnace.
Frequent auto‑shutdown: The desiccant cartridge may be saturated; replace it according to the manufacturer’s schedule.
Conclusion
Retrofitting a desiccant whole‑house dehumidifier into an existing HVAC system enhances indoor comfort, protects structural components, and can lower energy costs by reducing the load on cooling coils. By following the six steps outlined above—system evaluation, location selection, duct preparation, wiring, control integration, and commissioning—homeowners can achieve a professional‑grade installation with minimal expense.
The Eva‑Dry Rotary Desiccant Dehumidifier provides reliable moisture removal without the noise of a compressor, making it an ideal tool for this retrofit. Combine it with proper duct sealing, a dedicated circuit, and intelligent humidistat control for optimal performance.
With the knowledge gained from this guide, one can confidently improve indoor air quality and protect valuable possessions from the damaging effects of excess humidity.
Products Mentioned in This Guide
Frequently Asked Questions
What is a desiccant whole‑house dehumidifier and how does it differ from a refrigerant model?
A desiccant dehumidifier uses moisture‑absorbing material to remove humidity, working efficiently at lower temperatures where refrigerant units lose performance.
Can I retrofit a desiccant dehumidifier onto any existing HVAC system?
Yes, it can be integrated with forced‑air furnaces, heat pumps, or central air conditioners that have supply and return ducts, provided the system can accommodate the additional airflow.
What tools and materials are required for the retrofit installation?
You’ll need the dehumidifier unit, ductwork adapters, sheet metal screws, a drill, a level, and basic electrical wiring supplies for the control circuit.
How do I connect the dehumidifier to my thermostat for automatic operation?
Wire the dehumidifier’s control relay to a dedicated humidistat or use the existing thermostat’s “humidify” terminal, then set the desired humidity setpoint.
What maintenance does a desiccant whole‑house dehumidifier need after installation?
Periodically replace or regenerate the desiccant media and clean the air filters to maintain optimal moisture removal efficiency.