Introduction
Water intrusion in a basement can lead to structural damage, mold growth, and costly repairs. This guide explains how to identify problem areas, prepare surfaces, and apply reliable waterproofing solutions. By following the outlined steps, homeowners will gain confidence in protecting their living space without professional assistance.
The methods described are suitable for typical residential basements and emphasize safety, durability, and cost‑effectiveness. Readers will learn when to use specialized products and when standard household tools are sufficient.
What You’ll Need
- Protective gloves, goggles, and a respirator mask
- Utility knife and scraper
- Paint roller and brush set
- Concrete cleaning solution
- DAP Concrete & Mortar Filler – CAD13.54, 4.5/5 rating (2,184 reviews)
- USG Durock Waterproofing Membrane – $56.24, 4.5/5 rating (719 reviews)
- Green Expert Submersible Sump Pump – $59.98, 4.1/5 rating (820 reviews)
- Drainage pipe, PVC fittings, and a sump pit liner
- Silicone caulk and painter’s tape
Step 1: Inspect and Identify Leak Sources
Begin by examining walls, floors, and corners for water stains, efflorescence, or mildew. Use a flashlight to spot cracks wider than 1/8 inch, as these often allow water penetration. Document each defect with a camera so you can track progress later.
When a leak appears after heavy rain, test the area by spraying water with a garden hose while another person watches for seepage. This controlled test isolates the exact location that requires repair.
Step 2: Clean and Prepare Surfaces
All surfaces must be free of dust, oil, and loose material before applying any sealant or membrane. Scrape away deteriorated paint and loose mortar using a utility knife, then wash the area with a concrete cleaning solution. Rinse thoroughly and allow the surface to dry for at least 24 hours.
Dryness is critical because moisture trapped beneath a sealant can cause delamination. Use a dehumidifier or fan to accelerate drying in humid climates.
Step 3: Seal Cracks with DAP Concrete & Mortar Filler
For cracks and small holes, apply DAP Concrete & Mortar Filler. This product is a ready‑to‑use, waterproof sealant that bonds to concrete, mortar, and masonry. Its silicone additives improve adhesion and flexibility, ensuring a long‑lasting seal.
Features include:
- 10.1 oz tube, easy to load into a standard caulk gun
- Paintable after curing, allowing seamless blending with existing walls
- VOC‑compliant formula suitable for interior and exterior use
To apply, cut the tip of the tube at a 45‑degree angle, load it into a caulk gun, and press the filler into the crack while moving the gun steadily. Smooth the surface with a wet finger or a putty knife. The product cures to a flexible, watertight seal within 24 hours and can be painted within 48 hours.
Using this filler is preferable to generic caulk because it is specifically engineered for concrete substrates, providing superior resistance to oil, grease, and salt.
Step 4: Apply USG Durock Waterproofing Membrane
After cracks are sealed, the next barrier is a liquid‑applied waterproofing membrane. USG Durock Waterproofing Membrane is an acrylic polymer that forms a vapor‑retarding layer on walls, floors, and countertops.
Key advantages:
- Can be rolled, brushed, troweled, or sprayed for versatile application
- Fast drying time, allowing two coats within a single day
- Low permeance rating (0.38 perms) meeting ASTM E96 standards
- Provides anti‑fracture protection up to 1/8 in. over shrinkage cracks
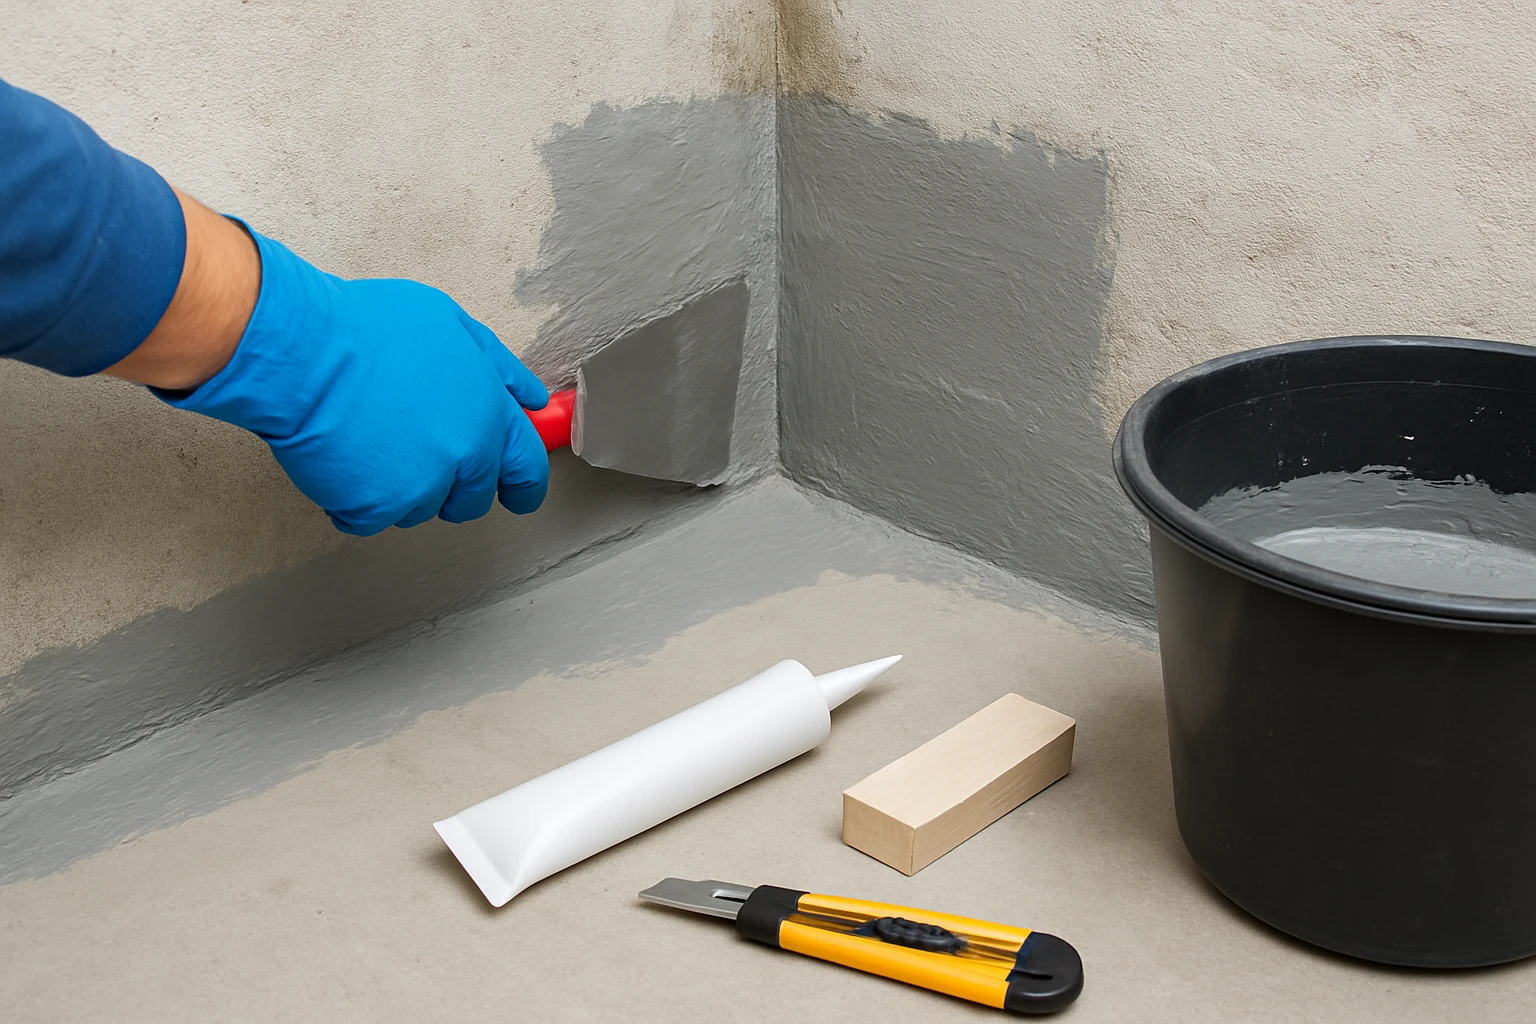
Apply the first coat with a ¾‑inch nap roller, ensuring full coverage of the prepared surface. Overlap each pass by at least 2 in. to avoid gaps. Allow the coat to dry for 30 minutes, then apply a second coat, especially on porous substrates such as Durock cement board.
When the membrane is fully cured, it creates a seamless, paint‑ready barrier that prevents water infiltration while allowing the wall to breathe, reducing the risk of mold.
Step 5: Install a Sump Pump System Using Green Expert Submersible Sump Pump
If the basement is prone to hydrostatic pressure, a sump pump provides active water removal. The Green Expert Submersible Sump Pump offers a 1/3 HP motor, oil‑free operation, and an automatic last‑inch drain sensor.
Installation steps:
- Excavate a pit 12 in. deep and 12 in. wide at the lowest point of the basement floor.
- Place a sump liner inside the pit to protect the pump from sharp debris.
- Submerge the pump, ensuring the sensor is positioned upright.
- Connect the discharge hose to the 1‑in. adapter and route it to a proper drainage outlet.
- Plug the pump into a grounded GFCI outlet; the 25‑ft power cord eliminates the need for extension cords.
The pump’s built‑in sensor stops the motor when water falls below 1/25 in., preventing dry‑run damage. Its dual‑mode operation (automatic and manual) offers flexibility during heavy storms.
Compared with generic utility pumps, this model provides a low residual water level, a longer power cord, and a quieter motor, all of which contribute to reliable long‑term performance.
Step 6: Finish, Test, and Maintain
After all waterproofing layers are applied and the pump is installed, allow the entire system to cure for 48 hours before exposing it to water. Conduct a flood test by running a garden hose along the exterior walls for 30 minutes while observing interior walls for any seepage.
If no moisture is detected, seal any remaining gaps with silicone caulk and painter’s tape. Finally, install a dehumidifier to control humidity levels, which further discourages mold growth.
Tips & Pro Tips
- Work in moderate temperatures (50‑80 °F). Extreme cold can slow curing times for both filler and membrane.
- Apply painter’s tape over seams before rolling the membrane; remove the tape after the second coat to achieve crisp edges.
- When using the sump pump, place a small bucket beneath the discharge hose during the first run to verify proper flow.
- Consider adding a battery‑back‑up unit for the pump if power outages are common in your area.
Troubleshooting
Problem: Moisture appears after the membrane has cured.
Solution: Inspect for missed cracks or pinholes. Re‑apply DAP Concrete & Mortar Filler to any newly discovered openings, then add a spot coat of the Durock membrane.
Problem: Sump pump fails to start automatically.
Solution: Verify that the sensor is fully submerged during activation. If the sensor remains dry, manually switch the pump to the manual mode until the water level reaches the sensor’s trigger point.
Conclusion
Waterproofing a basement interior involves careful inspection, proper surface preparation, and the strategic use of high‑performance products. By sealing cracks with DAP Concrete & Mortar Filler, creating a continuous barrier with USG Durock Waterproofing Membrane, and installing a reliable Green Expert Submersible Sump Pump, homeowners can effectively stop leaks, prevent mold, and protect their property for years to come.
Implement the steps outlined in this guide, monitor the system regularly, and adjust as needed to maintain a dry, healthy basement environment.
Products Mentioned in This Guide
Frequently Asked Questions
What safety gear is essential when waterproofing a basement interior?
Wear protective gloves, goggles, and a respirator mask to guard against chemicals and dust.
Which products are recommended for sealing cracks before applying a waterproof membrane?
DAP Concrete & Mortar Filler is effective for filling cracks and joints prior to membrane installation.
How do I prepare the concrete surface before applying a waterproofing membrane?
Clean the concrete with a concrete cleaning solution, scrape loose material, and ensure the surface is dry and smooth.
Can I use a standard paint roller to apply the USG Durock Waterproofing Membrane?
Yes, a paint roller works well for even application of the membrane on walls and floors.
When should I consider hiring a professional instead of DIY waterproofing?
If you discover extensive structural cracks, persistent water pressure, or mold growth, a professional should assess and repair the issue.