How to Retrofit a Central Dehumidifier in an Older Home: Step‑by‑Step DIY Guide for Whole‑House Moisture Control
Introduction
In many older residences, excess humidity can cause mold growth, structural decay, and discomfort for occupants. This guide will teach the reader how to evaluate, plan, and install a central dehumidifier that operates with existing HVAC equipment. By following each step, one can achieve whole‑house moisture control without extensive renovation. The information presented is practical, evidence‑based, and suitable for a competent DIY enthusiast.
Understanding the principles of humidity management and the capabilities of modern dehumidifiers will empower the reader to make informed decisions. The guide also highlights three specific products that can serve as reliable tools during the retrofit process. Although the reader can complete the project without purchasing these items, the recommendations provide a clear path to efficient and durable results.
What You’ll Need
- Basic hand tools: screwdriver set, adjustable wrench, pliers, and drill with appropriate bits.
- Electrical supplies: 240 V conduit, wire nuts, and a dedicated circuit breaker.
- HVAC ducting materials: flexible insulated duct, sheet metal clamps, and duct sealant.
- Mounting hardware: brackets, lag screws, and vibration‑isolating pads.
- Water‑handling accessories: condensate pump, drain hose, and a condensate pan.
- Control components: humidistat or smart controller compatible with the chosen dehumidifier.
- Optional dehumidifier units for evaluation and installation:
Step 1: Assess Existing HVAC Infrastructure
The first major step is to evaluate the current heating, ventilation, and air‑conditioning system. Locate the main air handler, note the size of the blower, and verify the presence of a return duct that can accommodate additional airflow. Measure the dimensions of the plenum and confirm that there is sufficient space for a dehumidifier module without obstructing service access. This assessment determines whether a dedicated unit or a retrofit module is the most appropriate solution.
During the assessment, record the electrical service capacity; a central dehumidifier typically requires a 240 V, 20‑amp circuit. If the service panel lacks spare capacity, plan for an upgrade before proceeding. This preparation avoids costly re‑work after the unit has been installed.
Step 2: Select the Appropriate Dehumidifier Capacity
Selecting a unit with sufficient moisture removal capacity is critical for long‑term performance. For homes up to 1,500 sq ft of crawl space or basement, the Mounto 140 PPD Crawl Space Dehumidifier offers 140 pints per day at saturation, making it ideal for moderate‑size applications. For larger areas up to 7,500 sq ft, the Airzentti 155 Pints Commercial Dehumidifier provides greater airflow and built‑in pump capabilities. If the homeowner desires energy‑star certification and advanced smart controls, the Deciuu 100 Pint Dehumidifier with Pump delivers up to 100 pints per day while meeting the Most Efficient 2024 standards.
The decision should be based on square footage, climate severity, and the presence of moisture‑generating activities such as laundry or pool equipment. Selecting a unit with a modest oversizing factor ensures the system can handle peak humidity events without excessive cycling.
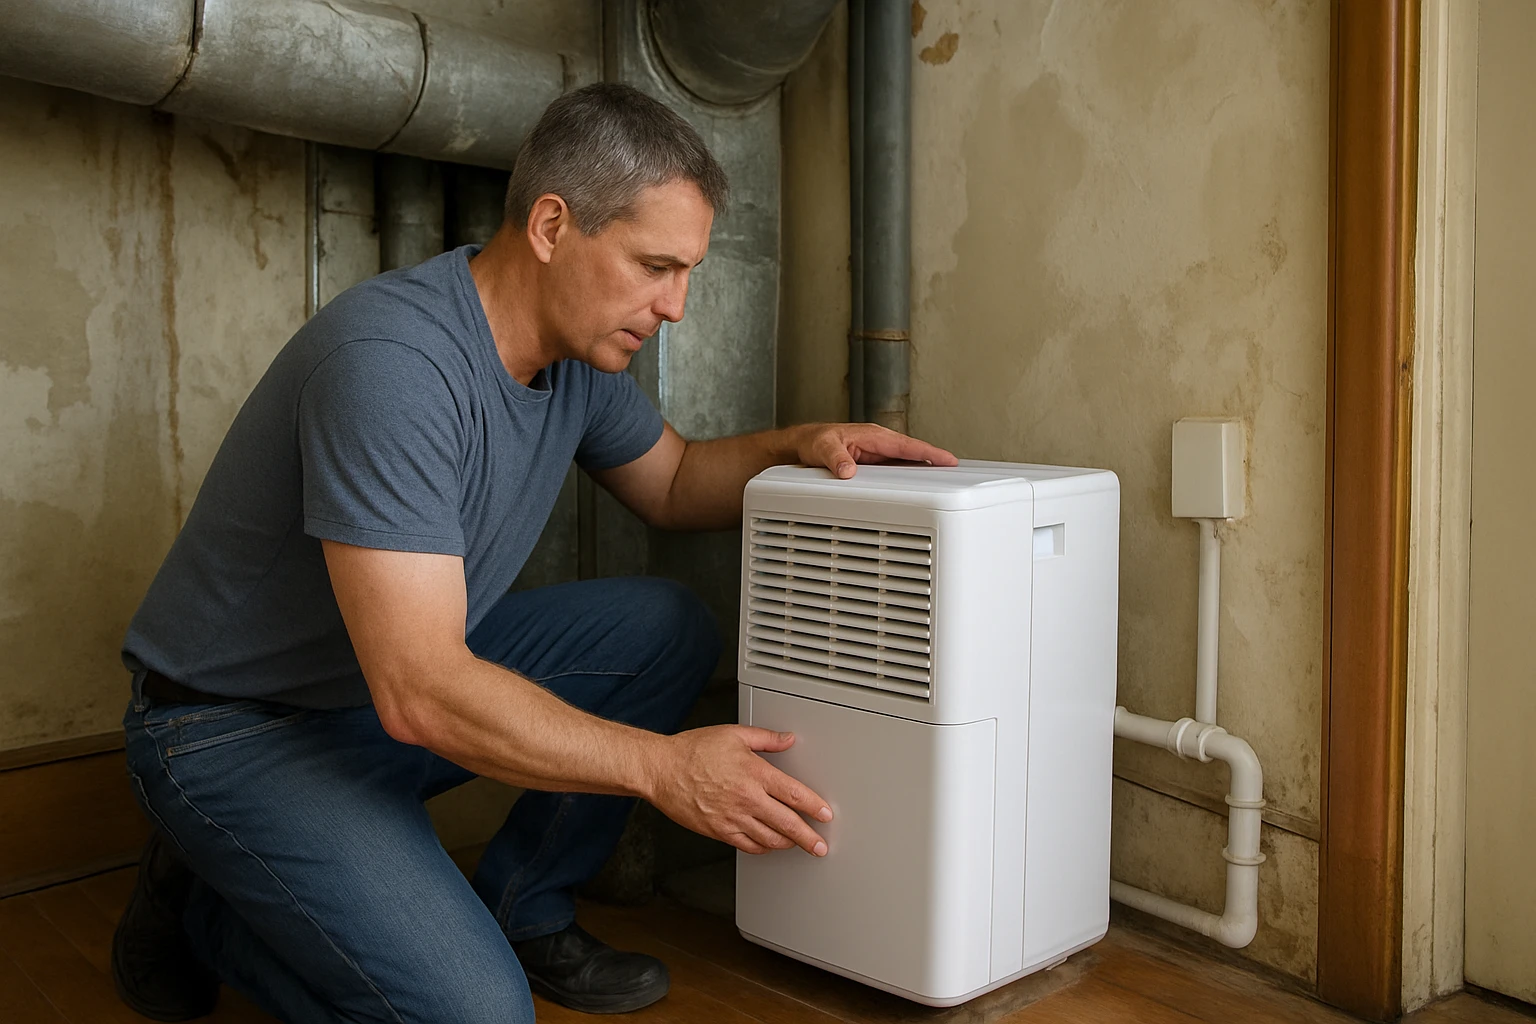
Step 3: Prepare the Installation Location
Identify a location near the air handler where the dehumidifier can be mounted on the supply or return plenum. The area should be level, well‑ventilated, and accessible for routine maintenance. Use a stud finder to locate framing members and mark the placement of mounting brackets. Install vibration‑isolating pads beneath the unit to reduce noise transmission through the ductwork.
For the Mounto 140 PPD Crawl Space Dehumidifier, the compact design and ergonomic handle simplify positioning in tight crawl spaces. The Airzentti 155 Pints Commercial Dehumidifier includes a built‑in water pump, allowing placement above floor level with upward drainage. The Deciuu 100 Pint Dehumidifier with Pump offers three drainage options, providing flexibility in cramped utility rooms.
Step 4: Connect Ductwork and Airflow Paths
Attach flexible insulated duct to the unit’s inlet and outlet ports, ensuring a tight seal with sheet metal clamps and duct sealant. The inlet should draw air from the return side, while the outlet should discharge conditioned air into the supply plenum. Verify that the duct diameter matches the unit’s specifications to prevent excessive static pressure.
The Airzentti 155 Pints Commercial Dehumidifier features a 6‑inch air duct collar, making it compatible with standard residential ducts. Its 220 CFM airflow rating ensures rapid moisture extraction when properly integrated. Proper duct sizing also reduces the risk of frost buildup, a concern addressed by the automatic defrost systems found in both the Mounto and Airzentti models.
Step 5: Install Electrical Wiring and Dedicated Circuit
Turn off power at the main breaker before beginning any electrical work. Run a 240 V conduit from the panel to the dehumidifier location, following local code requirements for conduit fill and protection. Connect the unit’s power leads to a dedicated double‑pole breaker sized according to the manufacturer’s amperage rating.
The Mounto unit operates on 115 V but benefits from a dedicated circuit to avoid overloads. The Airzentti and Deciuu models require 240 V; their built‑in compressors draw higher current, making a dedicated breaker essential for safety and reliability. Use wire nuts rated for the appropriate gauge and secure all connections with electrical tape.
Step 6: Integrate Control and Humidity Sensing
Install a humidistat or smart controller in a location that accurately reflects the home’s average humidity level, such as a central hallway. Wire the controller to the dehumidifier’s control terminals according to the manufacturer’s wiring diagram. Set the desired humidity setpoint between 45 % and 55 % relative humidity for most residential applications.
The Deciuu model includes an intelligent humidity control system with a high‑precision sensor and memory chip, allowing the user to set a target range of 35 %–80 % RH. This feature eliminates the need for an external humidistat, simplifying installation. The Airzentti unit also offers a built‑in humidity level setting, timer, and screen lock, providing additional convenience.
Step 7: Configure Condensate Management
Connect the condensate drain line to the unit’s drain outlet, ensuring a continuous downward slope of at least ¼ inch per foot to promote gravity flow. If the installation location is below the floor level, attach the built‑in pump (available on the Airzentti and Deciuu models) to lift water to a suitable disposal point. Verify that the pump’s maximum lift exceeds the vertical distance to the drain.
The Airzentti’s built‑in pump can lift water up to 16.4 ft, making it suitable for basements with limited floor access. The Deciuu unit also provides a pump with the same lift capability, plus an optional 2 m hose for direct gravity drainage. The Mounto model does not include a pump, so a separate condensate pump may be required if gravity drainage is not feasible.
Step 8: Test Operation and Fine‑Tune Settings
Restore power and activate the dehumidifier. Allow the unit to run for at least one hour while monitoring temperature, humidity, and airflow. Verify that the humidistat triggers the unit at the programmed setpoint and that the defrost cycle engages when ambient temperatures approach 36 °F.
Check for water leaks at the drain connection and ensure that the pump operates without excessive noise. Adjust fan speed or airflow direction if the unit appears to create uneven distribution across the house. Document the final settings for future reference and schedule regular filter cleaning to maintain performance.
Tips & Pro Tips
- Seal all duct joints with mastic or foil tape to prevent moisture‑laden air from bypassing the dehumidifier.
- Install a bypass damper in the return plenum to allow the system to operate without the dehumidifier during mild weather, reducing wear.
- Use a hygrometer in multiple rooms to verify that humidity levels remain consistent throughout the home.
- Consider integrating the dehumidifier with a smart home hub for remote monitoring and alerts.
Troubleshooting
Problem: Unit does not start after installation.
Solution: Verify that the dedicated breaker is on, check all wiring connections for tightness, and confirm that the humidistat is set below the current indoor humidity.
Problem: Excess frost on the evaporator coil.
Solution: Ensure the ambient temperature is above the unit’s minimum operating temperature, and confirm that the automatic defrost feature is enabled. Clean any dust buildup that may impede airflow.
Problem: Condensate pump runs continuously.
Solution: Inspect the drain hose for kinks or blockages, and confirm that the pump’s float switch is not stuck. Adjust the pump’s level sensor if necessary.
Conclusion
Retrofitting a central dehumidifier in an older home provides a durable solution to chronic humidity problems while preserving the existing HVAC infrastructure. By following the eight detailed steps, the reader can achieve reliable whole‑house moisture control, improve indoor air quality, and protect valuable building components. The recommended products—Mounto 140 PPD Crawl Space Dehumidifier, Airzentti 155 Pints Commercial Dehumidifier, and Deciuu 100 Pint Dehumidifier with Pump—offer a range of capacities and features to match diverse project requirements. With careful planning, proper installation, and regular maintenance, the homeowner will enjoy a healthier, more comfortable living environment for years to come.
Products Mentioned in This Guide
Frequently Asked Questions
Can a central dehumidifier be installed in an older home without major renovations?
Yes, it can be retrofitted to work with existing HVAC ducts and a 240 V circuit using standard hand tools and minimal structural changes.
What size (capacity) dehumidifier should I choose for whole‑house moisture control?
Select a unit rated for the home’s square footage and climate; typically 50‑70 pints per day for 1,500‑2,500 sq ft is sufficient.
Do I need a dedicated 240 V circuit for the dehumidifier?
A dedicated 240 V circuit with proper conduit and wiring is required to ensure safe, reliable operation.
Will the central dehumidifier affect my existing HVAC system’s performance?
When correctly installed in the return air stream, it works with the HVAC system and can actually improve efficiency by reducing latent load.
What basic tools and supplies are essential for the DIY retrofit?
You’ll need a screwdriver set, adjustable wrench, pliers, drill with bits, 240 V conduit, appropriate wire, and mounting hardware.