How to Winterize Your Sump Pump & Dehumidifier: Ultimate Step‑by‑Step Checklist
Introduction
Winter weather can place extraordinary stress on basement water‑control systems, and failure to prepare these systems often results in costly water damage. This guide explains how to protect both a sump pump and a dehumidifier before the first freeze, ensuring continuous operation throughout the cold months. Readers will learn a systematic checklist, practical maintenance techniques, and the reasons why specific tools improve reliability and safety.
The instructions are written for homeowners with moderate DIY experience; however, each step includes clear explanations that allow anyone to follow the process without specialized training. By the end of the article, the reader will possess a complete winterization plan that reduces the risk of flooding, mold growth, and equipment failure.
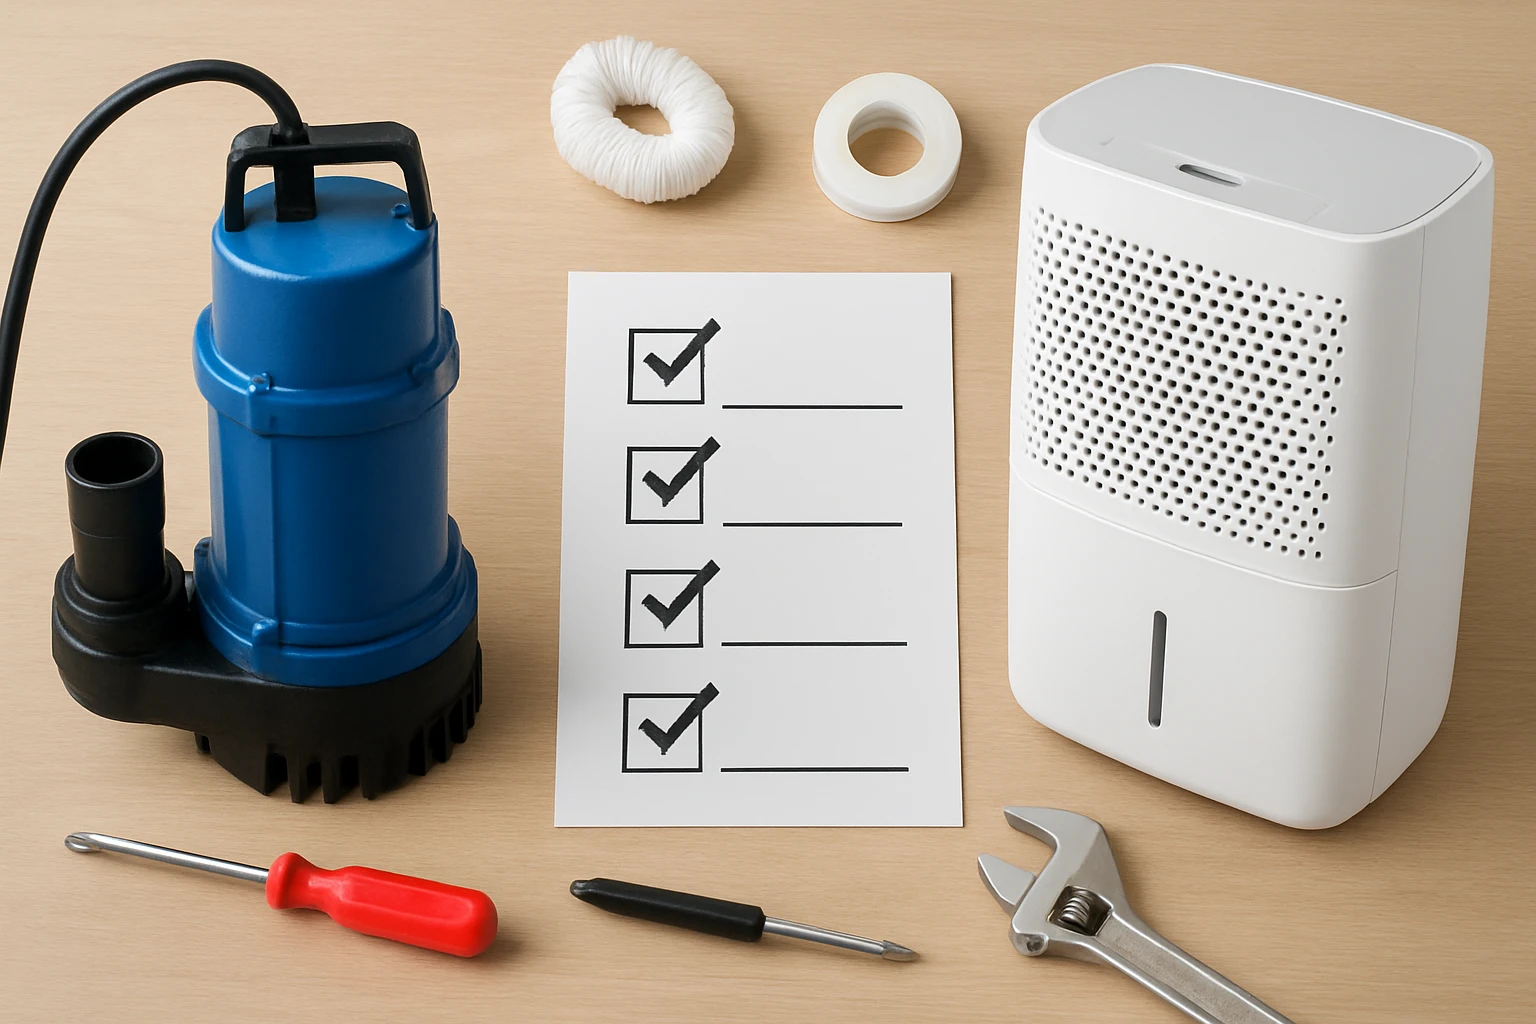
What You'll Need
- Protective gloves and safety goggles
- Shop‑vac or wet‑dry vacuum
- Pipe wrench and adjustable pliers
- Electrical tape and zip ties
- Insulating tape or foam pipe sleeves
- Backup pump – VEVOR 1/2 HP Submersible Sump Pump
- Utility pump for emergency drainage – Superior Pump 91250 Submersible Utility Pump
- Primary dehumidifier – Amazon Basics 35‑Pint Dehumidifier
- Secondary dehumidifier for larger spaces – Waykar 2000 Sq. Ft. Dehumidifier
- Thermostatic outlet timer (optional)
Step 1 – Inspect the Existing Sump Pump and Dehumidifier
Begin by turning off power at the circuit breaker and disconnecting both the pump and the dehumidifier from their outlets. Remove the pump cover and examine the motor housing for cracks, corrosion, or mineral buildup, which are common after a season of operation. Check the float switch for smooth movement and ensure the wiring connections are tight and free of fraying. For the dehumidifier, verify that the water collection bucket is clean, the filter is free of dust, and the control panel displays no error codes.
Document any signs of wear with photographs, as this record helps determine whether replacement is necessary before winter arrives. If the pump exhibits excessive wear, consider installing a backup unit as described in Step 4. A well‑maintained dehumidifier will operate more efficiently, reducing energy consumption during the heating season.
Step 2 – Clear Debris from the Sump Pit
Using a shop‑vac, remove all sludge, leaves, and small stones from the bottom of the pit; debris can obstruct the pump inlet and cause premature failure. After the bulk material is removed, inspect the suction screen for clogs and clean it with a garden hose if necessary. Replace any damaged screen with a new one that matches the original dimensions to maintain proper flow.
While the pit is empty, sweep the surrounding concrete to prevent future accumulation of organic matter that could be drawn into the pump during heavy rain events. A clean pit ensures that both the primary pump and any backup pump will have unrestricted water intake, which is essential for reliable operation in freezing conditions.
Step 3 – Test Pump Operation and Float Switch
Reconnect power and pour a bucket of water into the pit until the float rises to the activation point. Observe the pump for a full cycle, noting the time required to clear the water and the sound level of the motor. A properly functioning pump should start automatically, run continuously until the water level drops, and then shut off without stuttering.
If the pump fails to start, inspect the float switch wiring and verify that the outlet is GFCI‑protected. For intermittent operation, tighten any loose connections with electrical tape and secure the cord with zip ties to prevent movement during winter vibrations. Successful testing confirms that the system is ready for the additional protective measures that follow.
Step 4 – Install a Backup Pump
Even a well‑maintained pump can seize when water freezes around the impeller; a secondary pump provides redundancy and peace of mind. Position the VEVOR 1/2 HP Submersible Sump Pump in a side chamber of the pit, ensuring that the 10‑foot power cord reaches a protected outlet. This model offers a 28‑foot vertical lift and a capacity of 4,320 gallons per hour, which is more than sufficient to handle emergency flooding.
Connect the pump to a 1‑1/2" NPT discharge hose that leads to a safe discharge location away from the foundation. The built‑in float switch allows hands‑free operation, so the backup pump will activate only when water exceeds the primary pump's capacity. The robust cast‑iron frame and stainless‑steel components provide durability in harsh basement environments, and the 4.5‑star rating reflects consistent performance across many user reviews.
Step 5 – Prepare a Utility Pump for Emergency Drainage
In the event that both submersible pumps become inoperable, a portable utility pump can be deployed quickly to remove standing water. The Superior Pump 91250 Submersible Utility Pump delivers up to 1,800 gallons per hour and can lift water 25 feet vertically, making it ideal for evacuating flooded basements or storm cellars.
Place the utility pump on a stable platform near the lowest point of the water, attach a ¾‑inch garden hose adapter, and run the hose to a drainage ditch or floor drain. The removable suction screen handles solids up to 1/8 inch, preventing clogs when debris is present. At a price of $62.49 and a 4.6‑star rating, this pump offers an affordable, high‑performance solution for emergency situations.
Step 6 – Winterize the Dehumidifier
Before the first freeze, clean the dehumidifier's air filter and water tank to prevent mold growth inside the unit. Fill the tank with a mixture of water and a few drops of mild detergent, run a short cycle, and then rinse thoroughly; this removes residual minerals that could freeze and expand, damaging the internal reservoir.
If the home contains multiple high‑humidity zones, consider deploying both the Amazon Basics 35‑Pint Dehumidifier for smaller rooms and the Waykar 2000 Sq. Ft. Dehumidifier for larger basements. The Amazon Basics model is Energy Star certified, removes 35 pints per day, and features an auto‑restart function that restores settings after a power outage. The Waykar unit handles up to 34 pints in spaces up to 2,000 square feet, includes a 0.66‑gallon tank, and offers auto‑drain capability for continuous operation.
Set the humidity target to 45 % for optimal comfort; both units will automatically shut off when the desired level is reached, conserving energy and reducing wear on the compressors.
Step 7 – Position or Store Dehumidifiers for Winter
Place dehumidifiers on a level, non‑carpeted surface near a grounded outlet, and ensure that at least six inches of clearance surrounds each unit for proper airflow. If the basement will be unoccupied for an extended period, store the units in a dry area, wrap the power cords with insulating tape, and keep the control panels covered to protect against dust.
For units equipped with auto‑drain hoses, route the hoses to a floor drain or sump pit, securing them with zip ties to prevent displacement by frozen pipes. Verify that the hoses are not exposed to direct contact with cold concrete, as this could cause the water inside to freeze and block drainage.
Step 8 – Conduct a Final System Check
Perform a full system test by simulating a water‑intrusion event: pour water into the sump pit until the primary pump activates, then observe the backup pump and utility pump readiness. Confirm that the dehumidifiers maintain the target humidity and that the auto‑restart feature engages after a brief power interruption.
Record the date of the final check in a maintenance log, noting any adjustments made during the process. This documentation creates a reference point for future winterization cycles and assists service technicians should a problem arise later in the season.
Tips & Pro Tips
- Apply insulating foam sleeves to exposed water‑inlet pipes to prevent freezing before water reaches the pump.
- Install a battery‑backed outlet timer to ensure the dehumidifier continues operating during short power outages.
- Use a moisture‑resistant sealant around the sump pit cover to reduce cold air infiltration.
- Schedule a professional inspection of the float switch and discharge line annually to catch wear before it becomes critical.
Troubleshooting
Problem: Pump does not start when water rises.
Solution: Verify that the GFCI outlet is not tripped, check the float switch for mechanical binding, and ensure the power cord is fully inserted. If the motor hums but does not turn, the impeller may be seized by ice; use the utility pump to drain water and allow the motor to thaw.
Problem: Dehumidifier shuts off prematurely.
Solution: Clean the air filter and inspect the water tank sensor; a clogged filter can cause the unit to overheat, while a faulty sensor may misread water level. Reset the unit by unplugging for one minute, then restart.
Conclusion
Winterizing a sump pump and dehumidifier requires systematic inspection, thorough cleaning, and the strategic use of backup equipment. By following the checklist outlined above, homeowners can safeguard their basements against freezing damage, maintain healthy indoor humidity, and avoid costly repairs. Implement these steps before the first frost and revisit the maintenance log each year to ensure long‑term reliability.
Products Mentioned in This Guide
Frequently Asked Questions
When should I start winterizing my sump pump and dehumidifier?
Begin the process in early fall, about 4–6 weeks before the first expected freeze, to allow time for inspection and any needed repairs.
Do I need to disconnect power to the sump pump before winterizing?
Yes, unplug the pump and turn off the circuit breaker to prevent electrical hazards while you work on the unit.
What is the best way to protect the discharge pipe from freezing?
Wrap the pipe with insulated tape or foam sleeves and secure with zip ties, then add a small drip valve to keep water moving.
How can I prevent a dehumidifier from freezing in a cold basement?
Place the unit on a raised platform, keep the intake filter clean, and use a low‑temperature rated dehumidifier or add a heater plug‑in for added warmth.
Is a backup sump pump necessary for winter protection?
A backup pump provides redundancy in case the primary pump fails or freezes, greatly reducing flood risk during extreme cold.