Introduction
In many residential and commercial settings, a dehumidifier removes excess moisture from the air, but the condensate it produces must be drained safely. This guide explains how to route a dehumidifier condensate hose so that water is expelled without leaks, damage, or inconvenience. Readers will learn best‑practice techniques for measuring, cutting, installing, and securing a drain hose. By following each step, one can achieve reliable, leak‑free drainage that protects flooring and equipment.
What You’ll Need
- Appropriate condensate hose (examples are listed in the Products Mentioned section)
- Adjustable wrench or pliers
- Thread seal tape (often called plumber’s tape)
- Utility knife or scissors
- Hose clamps or zip ties
- Level and measuring tape
- Drain pipe or suitable collection container
Step 1: Evaluate the Dehumidifier Placement and Drain Options
The first task is to determine where the dehumidifier will operate and where the condensate can be expelled. One should examine the location of the unit’s 3/4‑inch FHT outlet and identify a nearby floor drain, sink, or utility tub. If a permanent floor drain is unavailable, a portable collection bucket may serve as an interim solution. Understanding the path in advance prevents unnecessary bends that could cause kinking.
Step 2: Select the Correct Hose Length and Material
Choosing a hose that matches the distance between the unit and the drain is essential for a clean installation. For short runs of up to five feet, the Seokmiat 5ft Hose offers a lightweight, flexible PVC construction with brass fittings that resist leakage. It is priced at $15.99 and holds a rating of 4.0 out of 5 stars based on 29 reviews. For longer runs, the Frigidaire 12ft Hose provides extra length and a cut‑to‑size design, priced at $28.49 with a 4.5‑star rating from 988 reviews. Selecting the appropriate length reduces the need for additional connectors and minimizes potential leak points.
Step 3: Measure and Cut the Hose to the Desired Length
Using a measuring tape, one should measure the exact distance from the dehumidifier outlet to the drain, adding an extra foot to allow for routing around obstacles. Mark the measurement on the hose and cut with a utility knife, ensuring a clean, straight edge. The PVC material of the Seokmiat and Conderyang hoses cuts easily without fraying, while the rubberized Frigidaire hose can be trimmed with scissors. After cutting, inspect the cut end for burrs and smooth any rough edges with sandpaper if necessary.
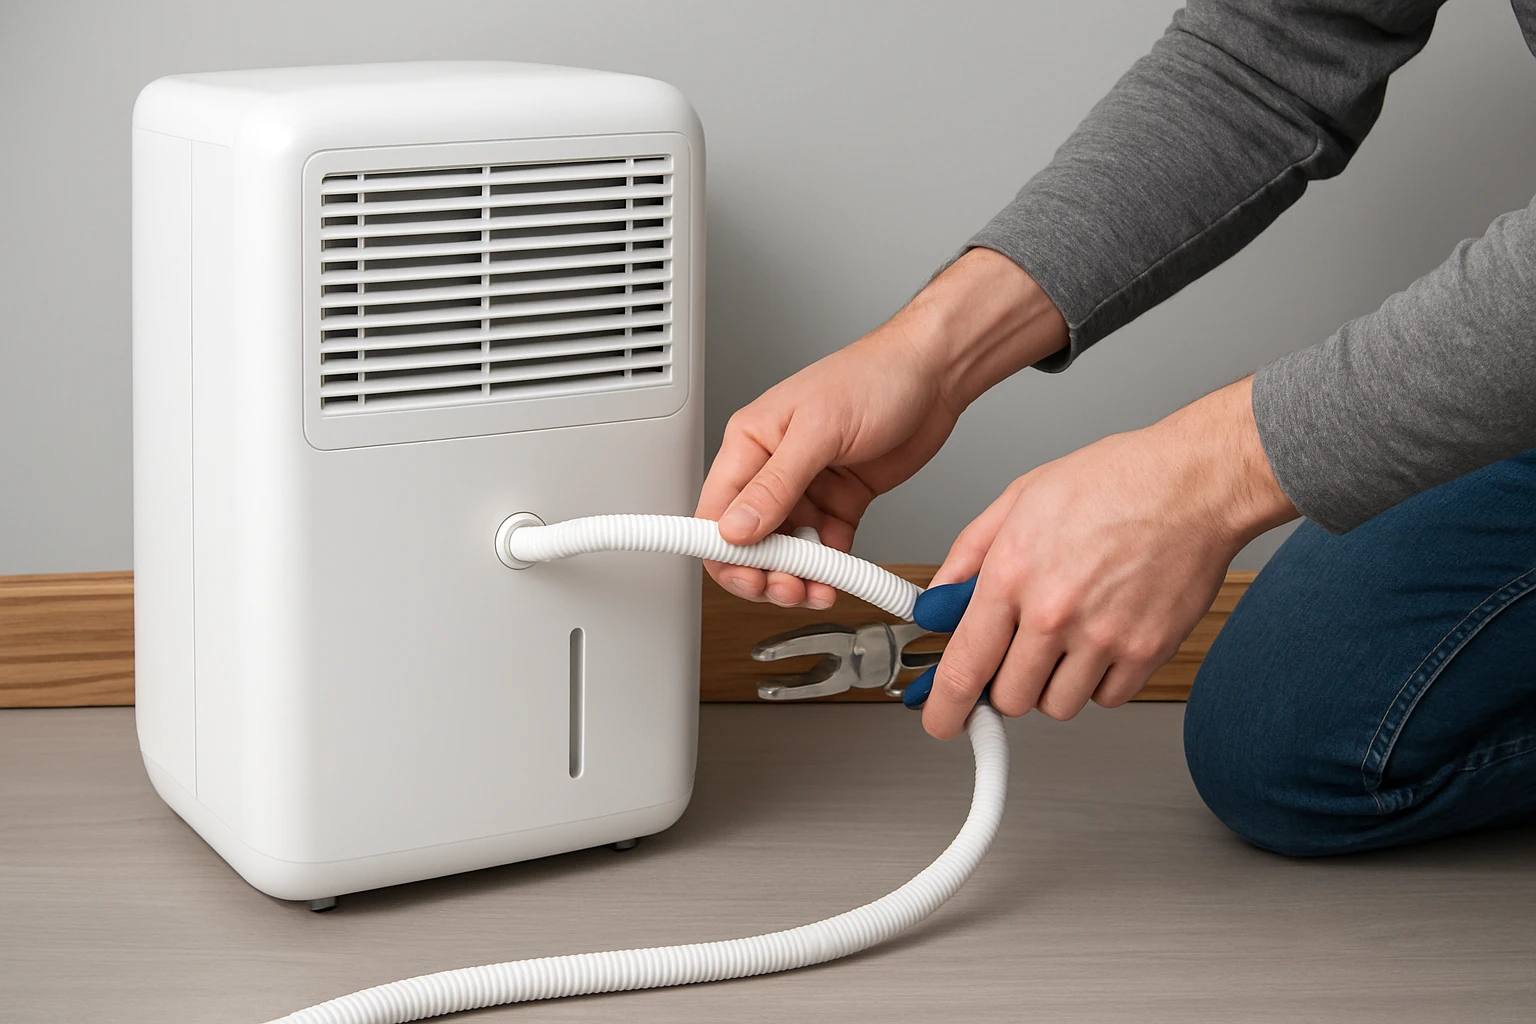
Step 4: Prepare the Hose Connections
Before attaching the hose, wrap the dehumidifier’s outlet threads with two turns of thread seal tape to create a watertight seal. Insert the rubber gasket that accompanies each hose into the brass or PE fitting. The Conderyang 5ft Hose features a rubber gasket and rust‑resistant PE connectors, priced at $9.99 with a 4.1‑star rating from 57 reviews, making it an economical choice for short installations where corrosion resistance is a priority. Tighten the connector by hand and then use an adjustable wrench to secure it without over‑tightening, which could damage the threads.
Step 5: Route the Hose Along a Safe Path
Lay the hose along a path that avoids high‑traffic areas, sharp edges, and heat sources. For runs that must cross a floor, use a low‑profile hose ramp or a piece of PVC pipe to protect the hose from foot traffic. The Saillong 13ft Hose includes an elastic rubber adapter with a secure clamp that can be adjusted to fit irregular outlets, priced at $14.59 with a 4.4‑star rating from 377 reviews. Its longer length allows routing around furniture without additional extensions.
Step 6: Secure the Hose to Prevent Kinks and Movement
After positioning the hose, attach hose clamps or zip ties at 12‑inch intervals to keep the hose from shifting. The corrugated PVC construction of the Conderyang hose resists kinking, but additional clamps provide extra stability on uneven surfaces. Ensure that the hose maintains a gentle downward slope of at least 1/4 inch per foot toward the drain to promote gravity‑driven flow.
Step 7: Connect the Opposite End to the Drain
The hose’s distal end should be placed securely into the drain pipe, sink, or collection container. If the drain has a threaded fitting, use a garden‑style coupling compatible with 3/4‑inch threads, which all of the listed hoses support. Insert a washer into the coupling, then tighten the hose connector until it is snug. Verify that the hose does not rest on the edge of the container, which could cause water to spill over during operation.
Step 8: Test the System for Leaks
Power on the dehumidifier and allow it to run for several minutes while observing the hose connections. Look for any moisture at the fittings, especially where the brass or PE connector meets the dehumidifier. If a leak is detected, tighten the connection a quarter turn and re‑apply thread seal tape if necessary. The Seokmiat hose’s brass joint and rubber sealing ring are designed to prevent leakage, but proper installation is essential for optimal performance.
Step 9: Final Adjustments and Maintenance
Once the system operates without leaks, trim any excess hose length and store the remaining portion safely. Periodically inspect the hose for signs of wear, cracks, or kinks, especially if the hose is exposed to sunlight or extreme temperatures. The Saillong hose’s maintenance tip advises storing the hose in a cool, dry place and checking for damage every six months. Replacing a compromised hose promptly prevents water damage and maintains the efficiency of the dehumidifier.
Tips & Pro Tips
- Maintain a slight downward slope to ensure gravity‑driven drainage; a pump is rarely required for residential units.
- Use a drip tray beneath the dehumidifier as a secondary safeguard in case of unexpected hose failure.
- When routing the hose through walls or ceilings, install a short piece of PVC pipe as a protective sleeve.
- For noisy operation, secure the hose with foam pipe insulation to dampen vibration.
- Regularly clean the drain outlet to prevent mold or mineral buildup that could obstruct flow.
Troubleshooting
Problem: Water pools at the dehumidifier outlet.
Solution: Verify that the hose is not kinked and that the downward slope is sufficient. Re‑tighten the connector and ensure the rubber gasket is seated correctly.
Problem: Persistent drip from the hose connection.
Solution: Apply additional thread seal tape and check that the brass or PE fitting is not cross‑threaded. If the leak continues, replace the hose with a new unit such as the Conderyang 5ft Hose, which includes a reinforced gasket.
Conclusion
This guide has outlined a systematic approach to routing a dehumidifier condensate hose, from evaluating placement to testing for leaks. By selecting the appropriate hose length, preparing connections carefully, and securing the hose along a smooth path, one can achieve a reliable, leak‑free drainage system. Implementing the recommended best practices will extend the life of both the dehumidifier and the surrounding environment. Readers are encouraged to apply these steps to their own installations and enjoy a drier, healthier indoor space.
Products Mentioned in This Guide
Frequently Asked Questions
What size hose should I use for a dehumidifier condensate drain?
Use a 3/4‑inch FHT hose, which matches the standard outlet on most residential dehumidifiers.
How do I determine the correct hose length and slope?
Measure the distance from the unit to the drain, then add a few extra inches and install the hose with a slight downward slope (about 1/4 inch per foot) to ensure gravity flow.
What tools are needed to install a condensate hose securely?
An adjustable wrench or pliers, plumber’s (thread seal) tape, a utility knife or scissors, and hose clamps or zip ties are sufficient.
How can I prevent leaks at the hose connection?
Wrap the threaded outlet and hose threads with plumber’s tape, then tighten the connection and secure it with a clamp.
Can I route the hose to a floor drain instead of a collection bucket?
Yes, as long as the drain is within reach, positioned lower than the unit, and the hose is properly sloped to allow continuous drainage.